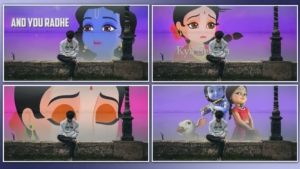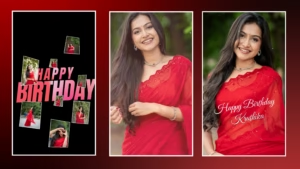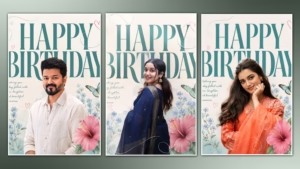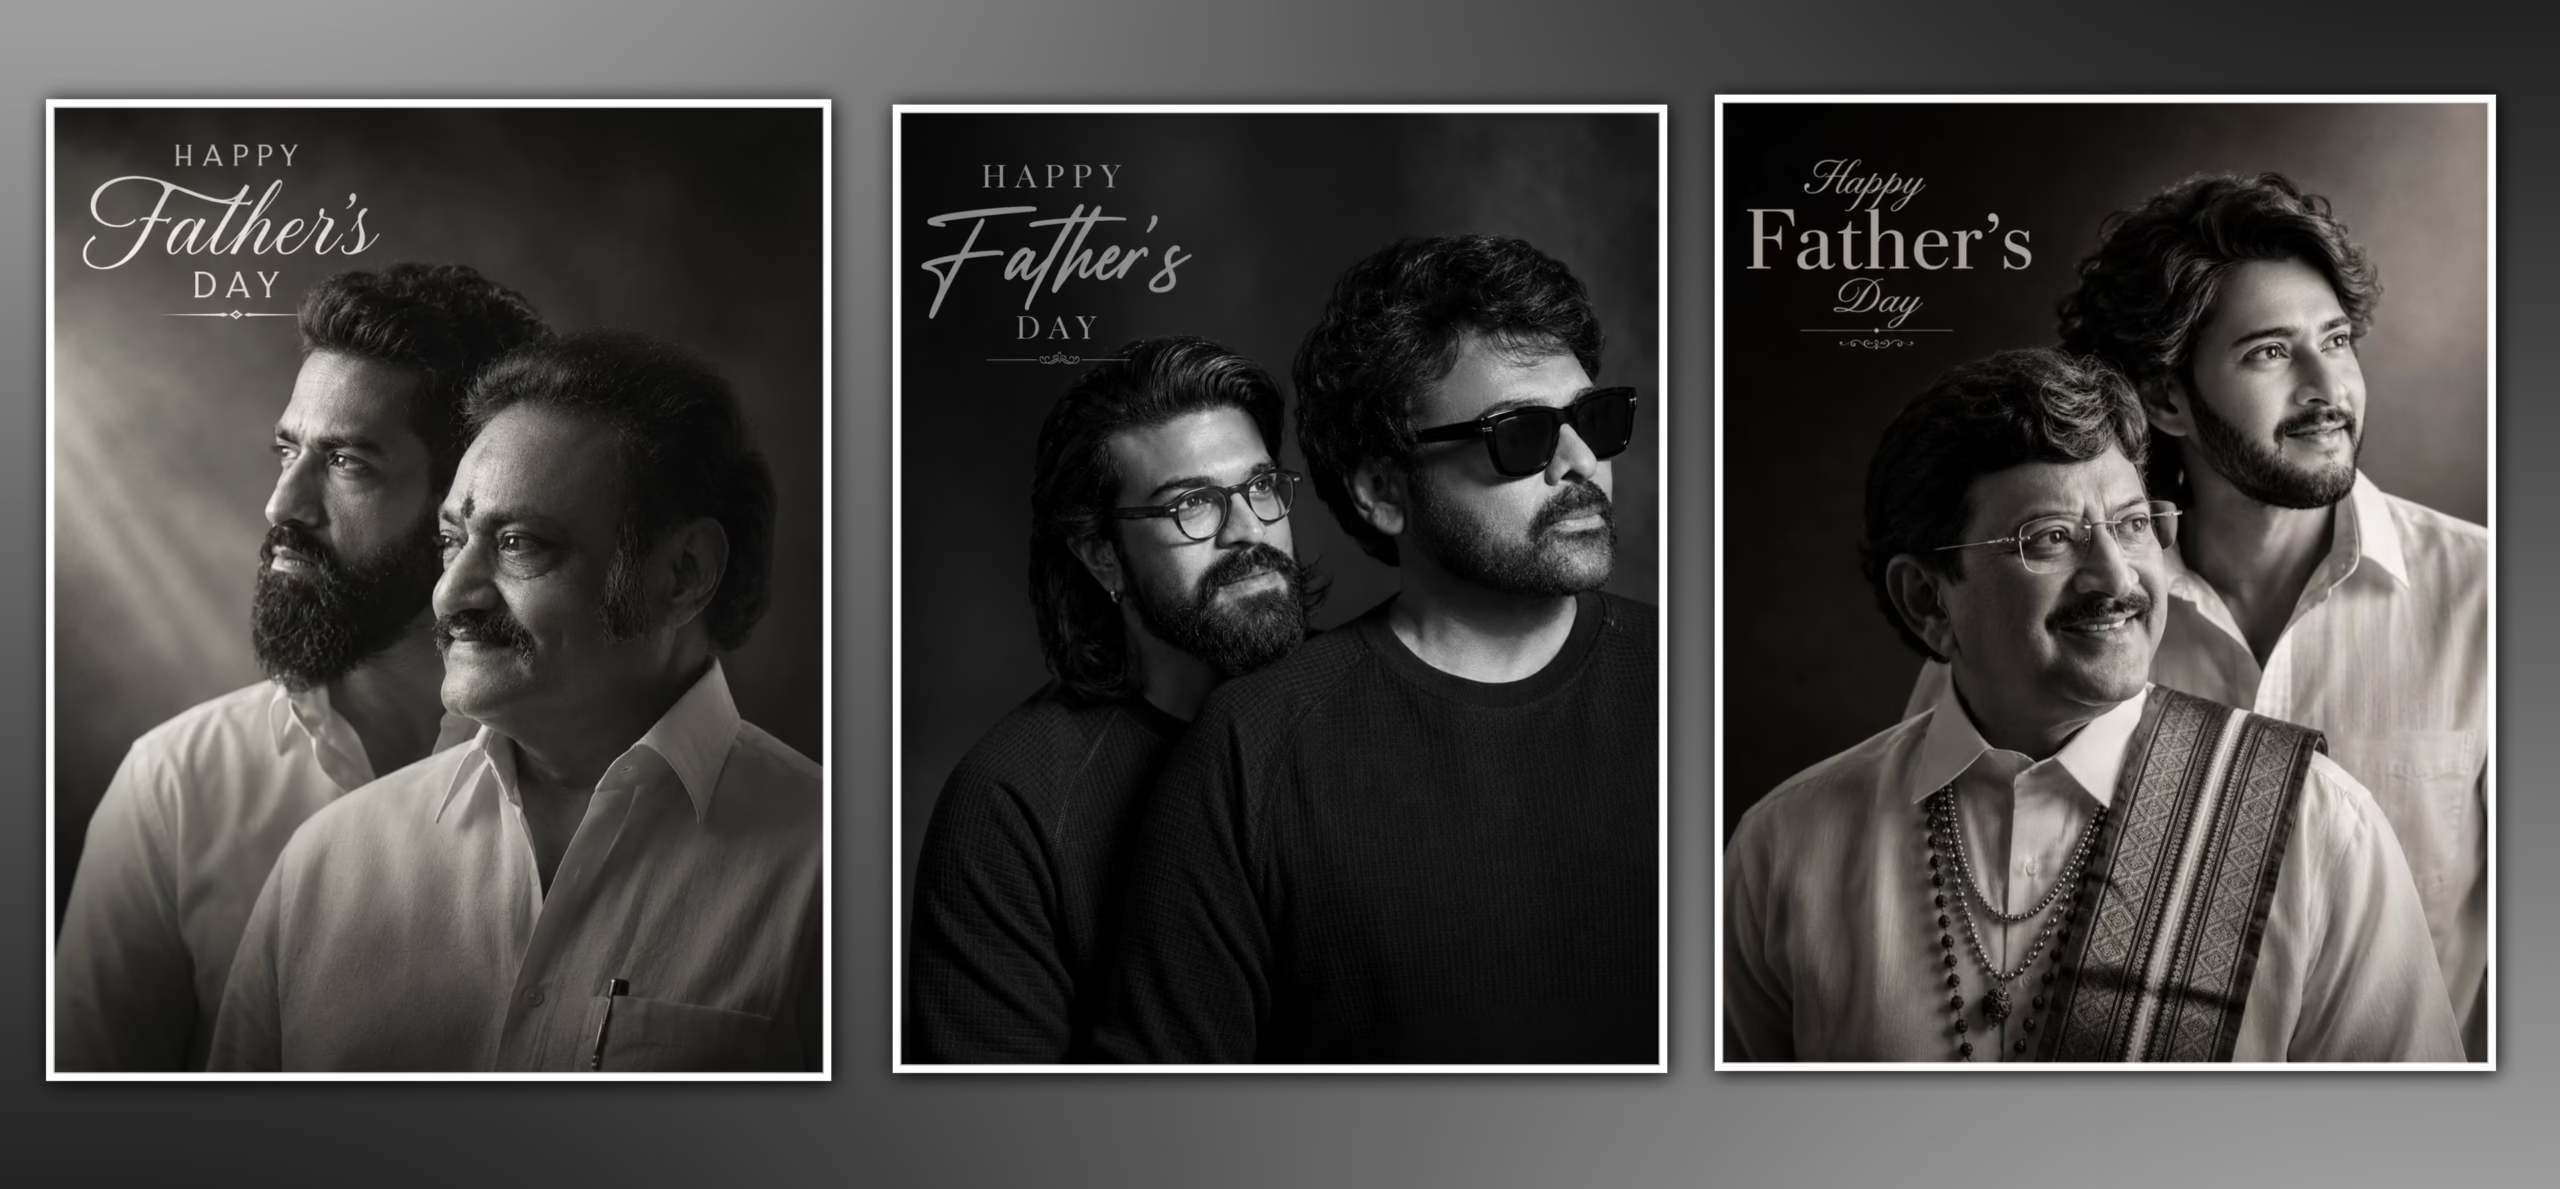
Photo editing has evolved a lot in the last few years and 2026 is shaping up to be one of the most exciting years for creators, photographers, influencers and social media lovers. With the advent of advanced editing apps, improved smartphone cameras and more affordable professional editing, it’s not just the job of experienced photographers to take eye-catching photos.
Today a simple image can be converted into a professional looking masterpiece with just a smartphone or computer. Whether you’re making content for Instagram, YouTube thumbnails, Facebook posts, personal portfolios or blog websites, high-quality photo editing plays a big role in attracting attention and increasing engagement.
The best photo editing techniques in 2026 focus on maintaining natural details while enhancing image quality. Instead of overly edited images with unrealistic colors and excessive filters, modern editing trends emphasize realistic skin tones, cinematic lighting, balanced colors, and sharp details.
In this complete guide, you’ll learn what modern photo editing is, the tools required, my personal testing experience, step-by-step editing workflow, recommended settings, common mistakes to avoid, and answers to frequently asked questions.
What Is Best Photo Editing In 2026?
Best Photo Editing In 2026 refers to the process of enhancing photos using modern editing tools and professional techniques while preserving the natural appearance of the image.
Unlike older editing styles that relied heavily on filters and dramatic effects, today’s editing approach focuses on:
- Natural skin tones
- Professional color grading
- Cinematic lighting effects
- Improved sharpness
- Better dynamic range
- Balanced contrast
- Realistic background blur
- High-resolution output
The goal is simple: create images that look professional without appearing overly edited.
This editing style is particularly popular among:
- Social media influencers
- Content creators
- Bloggers
- Professional photographers
- Students
- Business owners
- Personal branding enthusiasts
Because social media platforms are highly visual, well-edited photos often receive more engagement, shares, and profile visits than unedited images.
My Experience and Testing Results
Over the past few months, I tested several popular photo editing applications and techniques on different types of photos. The goal was to determine which editing methods produce the best results in 2026.
Types of Photos Tested
I tested editing techniques on:
- Portrait photos
- Outdoor photography
- Indoor photography
- Low-light images
- Travel photography
- Social media profile pictures
Results Observed
After multiple tests, I noticed several improvements:
Better Facial Details
Modern editing tools significantly improved facial clarity while maintaining natural skin texture.
Improved Lighting
Even poorly lit photos became more vibrant and visually appealing after proper adjustments.
Enhanced Colors
Colors appeared richer and more balanced without looking oversaturated.
Better Sharpness
Fine details such as hair, eyes, and clothing textures became noticeably sharper.
More Professional Appearance
Edited photos looked more suitable for social media, portfolios, and professional use.
My Overall Opinion
From my experience, the best results come from subtle adjustments rather than aggressive editing. Small improvements in lighting, color balance, contrast, and sharpness often create a much better final image than excessive effects.
Required Tools
One of the biggest advantages of photo editing in 2026 is that excellent results can be achieved using free or affordable tools.
Lightroom Mobile
Lightroom remains one of the most popular photo editing applications because of its professional-grade controls and user-friendly interface.
Benefits:
- Advanced color grading
- Exposure adjustment
- Presets
- Professional export options
Snapseed
Snapseed continues to be a favorite among beginners.
Benefits:
- Free to use
- Easy interface
- Selective editing tools
- Excellent portrait enhancements
PicsArt
PicsArt offers a combination of editing and creative design tools.
Benefits:
- Filters
- Background editing
- Effects
- Text overlays
CapCut
Although primarily known as a video editor, CapCut includes powerful photo editing features.
Benefits:
- Quick enhancements
- Filters
- Color correction
- Easy sharing
Photoshop
Photoshop remains the industry standard for advanced editing.
Benefits:

- Complete editing control
- Professional retouching
- Advanced masking
- High-quality exports
Step-by-Step Guide
Follow these steps to create professional-quality edits.
Step 1: Choose a High-Quality Image
The editing process begins with selecting a good image.
For best results:
- Use high-resolution photos
- Avoid blurry images
- Ensure proper focus
- Choose photos with decent lighting
A good original image always produces a better final result.
Step 2: Adjust Exposure
Exposure controls overall brightness.
If the image is too dark:
- Increase exposure slightly
If the image is too bright:
- Reduce exposure
Avoid extreme adjustments because they can reduce image quality.
Step 3: Improve Contrast
Contrast helps create depth and visual impact.
Increasing contrast slightly can:
- Enhance facial features
- Improve background separation
- Make colors appear richer
Avoid excessive contrast because it may remove shadow details.
Step 4: Adjust Highlights and Shadows
Highlights affect bright areas while shadows affect dark areas.
Recommended approach:
- Lower highlights to recover details
- Increase shadows slightly for better visibility
This creates a balanced and professional look.
Step 5: Enhance Colors
Color adjustments are extremely important.
Focus on:
- Natural skin tones
- Balanced saturation
- Realistic color temperature
The goal should be realistic enhancement rather than dramatic color changes.
Step 6: Increase Sharpness
Sharpness improves detail visibility.
Apply moderate sharpening to:
- Eyes
- Hair
- Clothing textures
Avoid over-sharpening because it introduces unwanted noise.
Step 7: Apply Final Touches
Before exporting:
- Check skin tones
- Review brightness
- Ensure natural colors
- Remove distractions
Small refinements often make a huge difference.
Step 8: Export the Image
Export using the highest quality settings available.
Recommended format:
- JPG
- PNG
Recommended resolution:
- Full Resolution
- 4K or higher when possible
Best Settings
While every photo is different, these settings provide an excellent starting point.
Portrait Editing Settings
- Exposure: +0.2
- Contrast: +12
- Highlights: -15
- Shadows: +20
- Whites: +10
- Blacks: -10
- Clarity: +10
- Sharpness: +15
These adjustments create a clean and professional portrait.
Outdoor Photography Settings
- Exposure: +0.3
- Contrast: +10
- Saturation: +8
- Vibrance: +15
- Highlights: -20
These settings help landscape and travel photos stand out.
Cinematic Editing Settings
For cinematic effects:

- Slight warm tones
- Soft shadows
- Reduced highlights
- Moderate contrast
- Subtle vignette
This creates the popular cinematic look seen on social media.
Export Settings
Always export with:
- Quality: 100%
- Resolution: Maximum
- Format: JPG or PNG
This ensures the best final image quality.
Common Mistakes to Avoid
Many beginners unknowingly reduce image quality through poor editing practices.
Over-Smoothing Skin
Excessive skin smoothing removes natural texture.
This often makes photos look fake and unrealistic.
Instead, maintain some natural skin details.
Over-Saturation
Many users increase saturation too much.
This creates:
- Unrealistic colors
- Artificial skin tones
- Poor visual balance
Always prioritize natural-looking colors.
Over-Sharpening
Excessive sharpness introduces noise and unwanted artifacts.
Apply sharpening carefully and only where needed.
Using Low-Resolution Images
Editing cannot fully fix poor-quality images.
Starting with high-resolution photos always produces better results.
Ignoring Lighting
Even the best editing cannot completely replace proper lighting.
Whenever possible:
- Use natural daylight
- Avoid harsh shadows
- Capture well-lit photos
Excessive Filters
Using multiple filters often creates inconsistent colors.
Professional editing typically relies on subtle adjustments rather than heavy effects.
FAQ
Which photo editing app is best in 2026?
Lightroom Mobile remains one of the best overall options due to its professional features and excellent image quality.
Can beginners achieve professional results?
Yes. With practice and proper editing techniques, beginners can create impressive edits using free apps.
Is photo editing necessary for social media?
While not mandatory, edited photos generally attract more attention and engagement than unedited images.
How much editing is too much?
When a photo starts looking unrealistic, editing has likely gone too far. The best edits enhance rather than completely change the image.
What is the most important editing adjustment?
Lighting and exposure corrections usually provide the biggest improvement.
Does photo editing reduce quality?
Not when performed correctly. Exporting at maximum quality preserves image details.
Which type of photos edit best?
High-resolution portrait photos with good lighting usually produce the best results.
Conclusion
Photo editing in 2026 is about making photos better without losing realism. The latest editing trends are moving away from over-the-top filters and unrealistic effects, embracing natural beauty, balanced colours, cinematic lighting and a professional presentation.
No matter if you are a blogger, content creator, photographer, student or social media lover, learning proper editing techniques can drastically improve the quality of your photos. Armed with the right tools, a structured workflow, and avoiding common mistakes, you can consistently produce professional-looking images that will stand out from the crowd online.
Remember, great editing begins with a great photo. Focus needs to be on taking good photographs, and then using editing to enhance the good points. By 2026, photo editing is a skill that anyone can learn through practice and attention to detail to create stunning visuals.