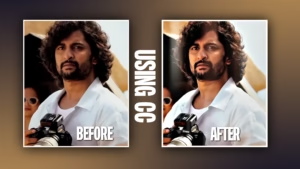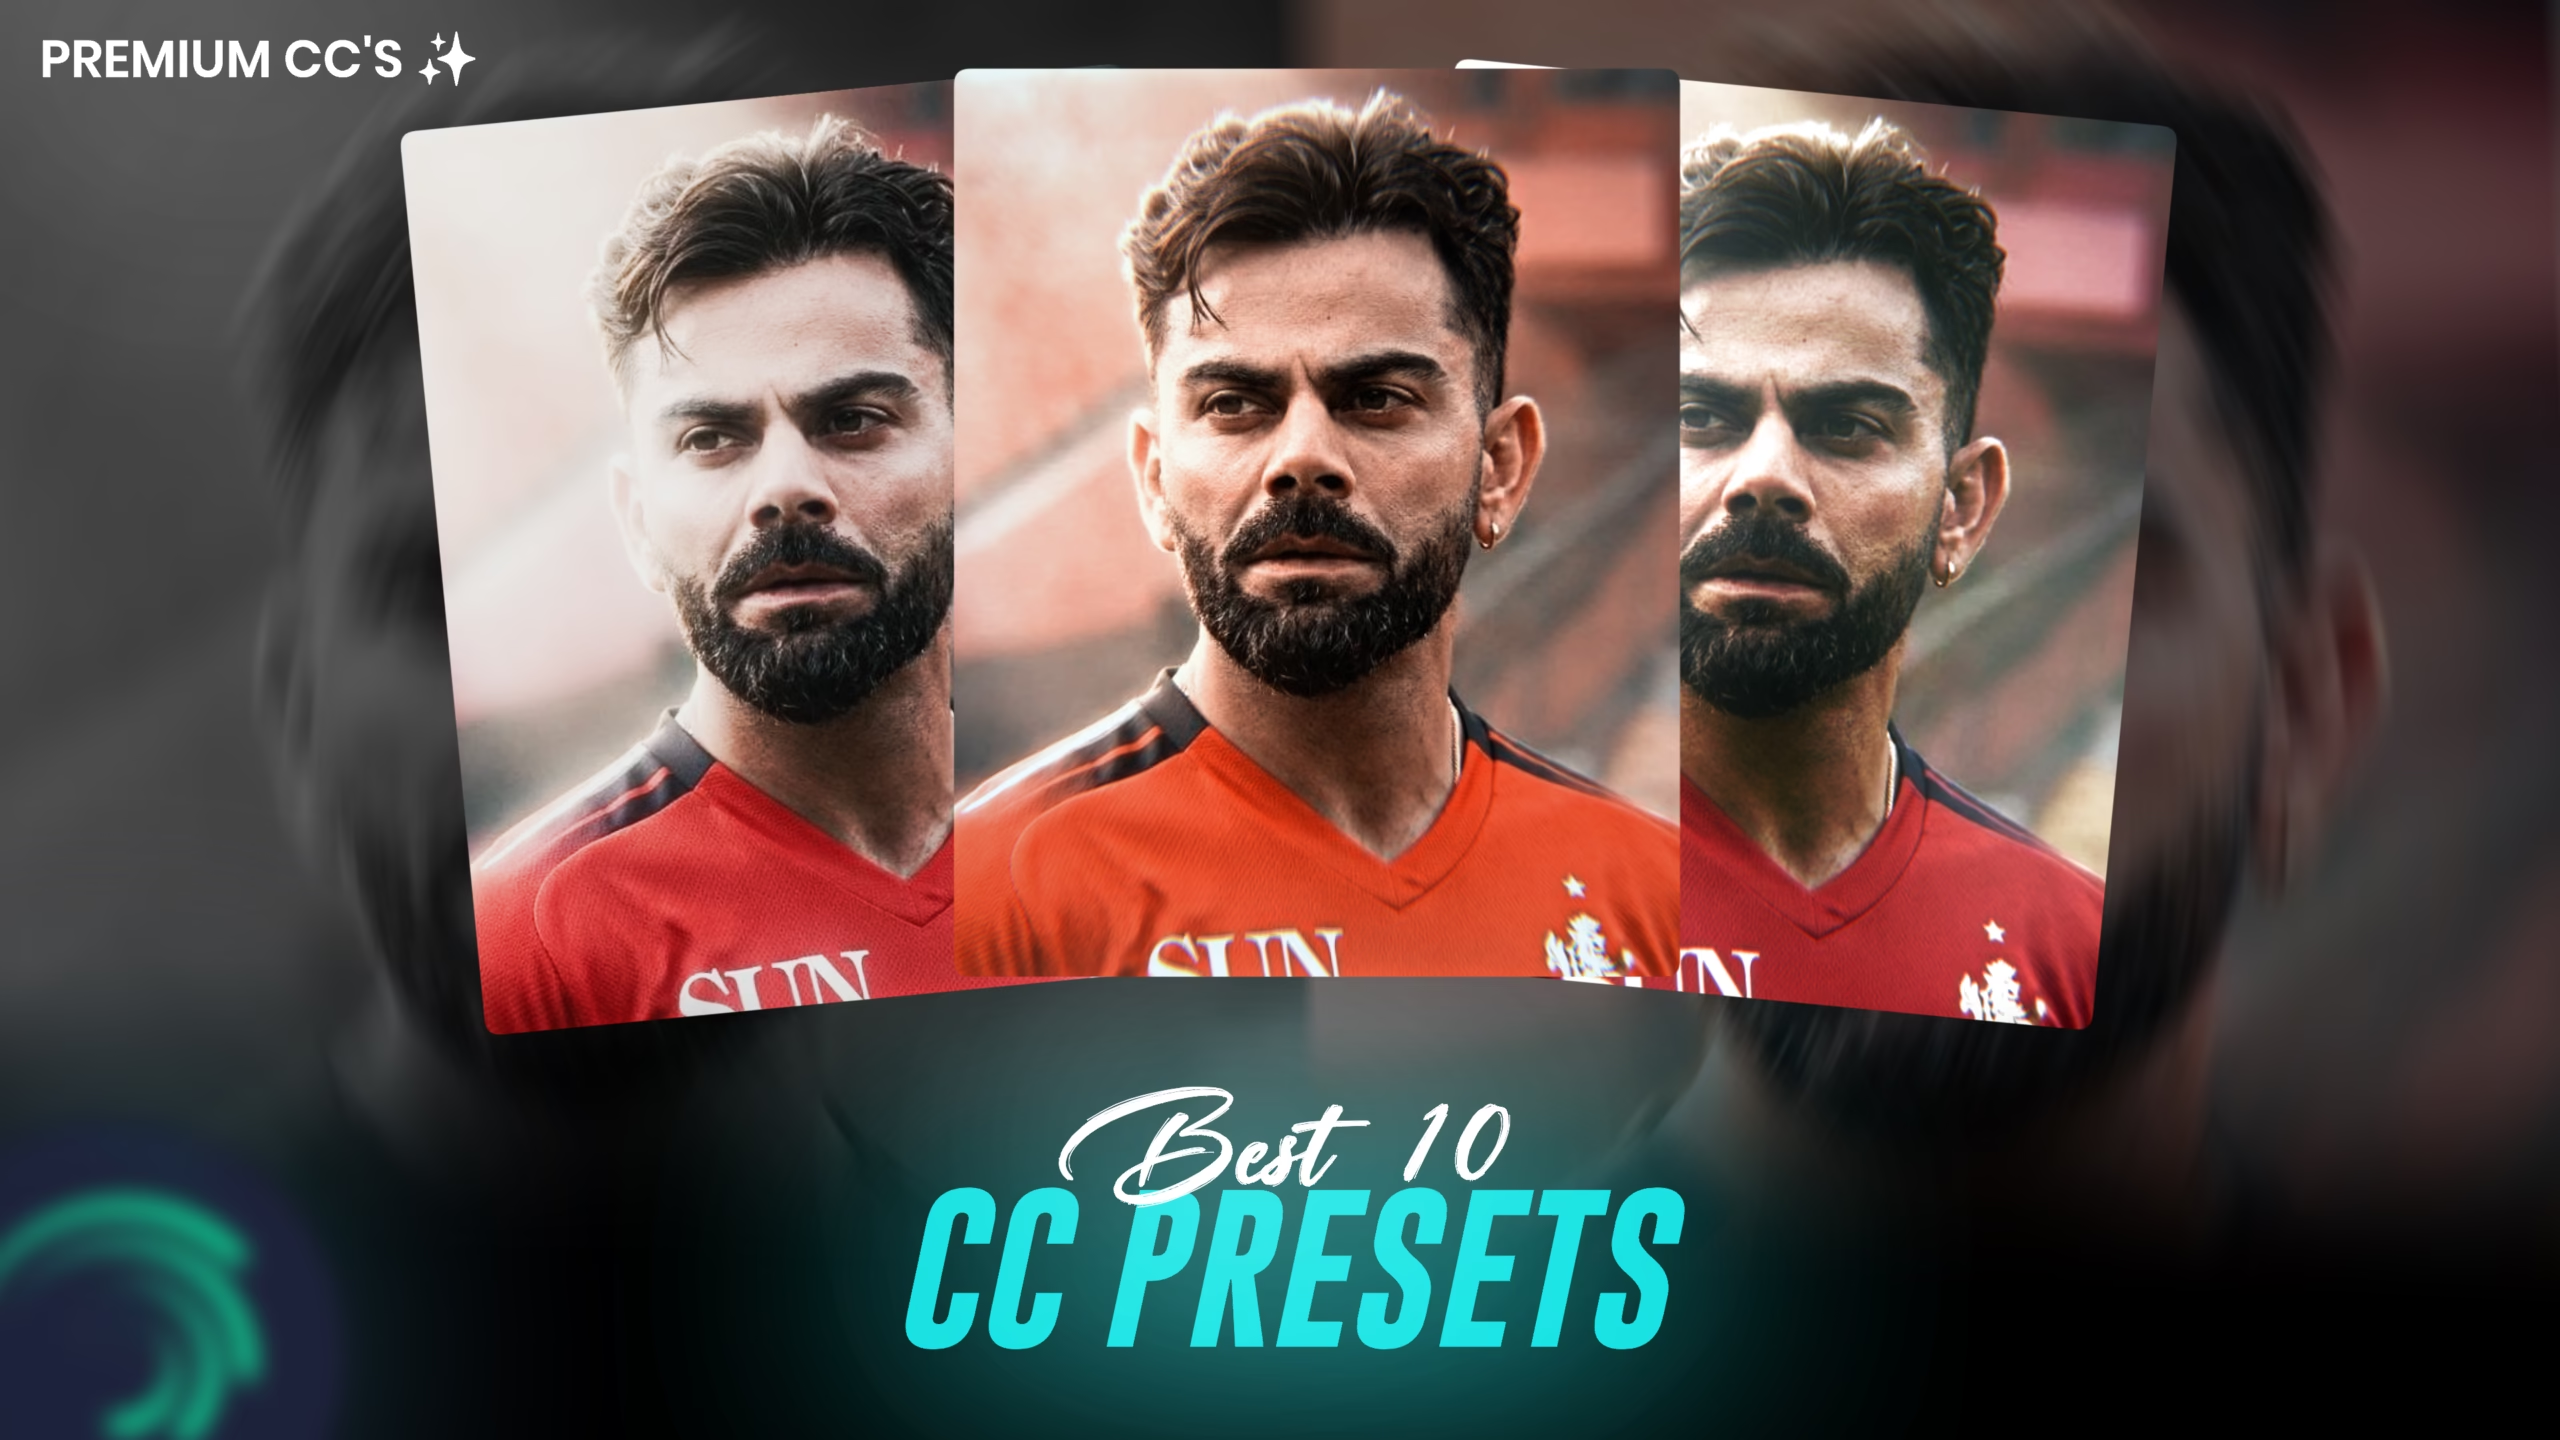
If you have ever looked at colorful Instagram Reels, YouTube Shorts, and TikTok videos, there is a chance that you must have seen the high-quality coloring effect on them. The high-quality color of the videos can be attributed to “CC (color correction & color grading) editing.” The edited video not only looks professional but also gets the viewer’s attention within seconds.
Out of all mobile editing applications, “Alight Motion” is considered to be one of the most used among creators due to its efficient editing capabilities that work in a user-friendly environment. Alight Motion enables users to change the color, increase the brightness, contrast, and give a cinema-like effect without any expensive programs.
With this “CC Editing in Alight Motion Tutorial,” you will know how to make professional videos through simple steps. This tutorial will teach you from the basics of CC editing to the best settings for it. After watching this video, you can definitely improve the overall quality of your videos and make it stand out on social media.
What is CC Editing in Alight Motion?
“CC” is an abbreviation which means “Color Correction” and “Color Grading”. and all of them are the most important parts of working with video where there is the necessity to improve the visual aspects.
**Color Correction** implies corrections of such problems as exposure, contrast, white balance and colors in general.That is, everything should be done to make the video look more natural.
**Color Grading** includes setting a specific mood of the video, making it more unique by giving golden hues for travel videos, dark hues for action videos, and so forth.
Alight Motion features various preset adjustments, which makes CC editing very easy to perform. It is possible to adjust the brightness, contrast, saturation, shadows, highlights, temperature, and tint without the need for advanced desktop applications.
The most significant benefit of CC editing is that it turns an ordinary video into something that looks beautiful. Videos shot even by a smartphone become premium when their colors are properly adjusted.
Why CC Editing is Important
Many beginners think that expensive cameras are the secret to creating professional videos. In reality, editing plays an equally important role. Proper CC editing can completely change the mood and quality of your footage.
Here are some reasons why CC editing is important:
* Makes videos look more attractive and engaging.
* Creates a professional cinematic appearance.
* Enhances natural skin tones and background colors.
* Improves visibility in dark or bright scenes.
* Gives your videos a consistent visual style.
* Helps your content stand out on Instagram Reels, YouTube Shorts, and TikTok.
* Increases viewer retention by making videos more visually appealing.
Even a simple adjustment to brightness and contrast can dramatically improve the final result.
My Experience with CC Editing
Initially, when I began to edit videos on Alight Motion, I would concentrate mostly on adding transitions and effects. Even though my video editing results seemed good enough, there were some problems with color consistency. There was always something off in terms of color balance; some videos were underexposed and the others – overexposed. After learning about CC editing from tutorials, I understood the problem.
At the beginning of my training, I worked with videos that were taken in different lighting situations. Initially, I used to make errors such as oversaturation or overcontrasting. This resulted in unnatural looking video quality.
After some weeks of trial and errors, I understood that small changes are the ones that will produce excellent results. Rather than changing everything in an aggressive way, I understood that it is better to slowly change the brightness, contrast, highlights, and shadows.
The main thing that I have learned from my experiments is that each video is unique. Preset that is suitable for an outdoor video may not be suitable for an indoor one. This is why previewing your settings is important.
Today, CC editing has become an essential part of my editing workflow, and it consistently helps me create videos that look more professional and engaging.
Requirements Before You Start
Before editing your video, make sure you have everything you need.
1. Latest Version of Alight Motion
Install the latest version of Alight Motion to access the newest editing features and performance improvements.
2. High-Quality Video Footage
Start with clear, high-resolution footage. Good source quality makes CC editing much more effective.
3. Smartphone or Tablet
Alight Motion works smoothly on most modern Android and iOS devices with sufficient RAM.
4. Optional Presets
If you have a favorite CC preset, you can use it as a starting point and customize it according to your video.
5. Enough Storage Space
Video editing requires free storage for project files and exported videos.

6. Stable Internet Connection
Although editing works offline, you’ll need an internet connection to download presets, fonts, overlays, or project files if required
Download Required Materials
Before proceeding with editing, collect all the required files in order to ensure that the task goes smoothly. Though you have editing options within Alight Motion, having other sources might speed up the process and even increase its effectiveness.
The list of required files is given below:
“Color Correction Preset (Optional):” The use of a preset will allow you to create a unified color style in no time. It can be changed afterward if needed.
“High-Quality Video Clip:” Always edit the highest-quality version of your footage for better results.
“Fonts (Optional):” If you’re adding titles or captions, use clean and modern fonts that match your editing style.
“Overlays (Optional):” Light leaks, film grain, and dust overlays can give your video a more cinematic appearance.
“Music and Sound Effects:” Background music can enhance the overall viewing experience and make your edit more engaging.
Having these resources ready before you start editing will help you work more efficiently.
Step-by-Step CC Editing in Alight Motion Tutorial
Step 1: Create a New Project
Go to the Alight Motion app, and tap on the “+ (Plus)” option to start your project. Choose your aspect ratio depending on which platform you will use to upload your video. When you decide to upload your video on Instagram Reels, YouTube Shorts, and TikTok, it would be wise to choose the “9:16″aspect ratio.
Step 2: Import your Video
Click on “Media”and select the video that you wish to edit.
Step 3: Adjust Brightness
Go into the **Effects** tab and choose an effect for changing colors. Add some brightness to the video, but do not overdo it. Small changes work better in most cases.
Step 4: Increase Contrast
Make colors brighter by increasing contrast. It will improve the visual quality of the video.
Step 5: Improve Saturation
Increase saturation carefully to make colors more vibrant. Avoid oversaturating the image, as it can make skin tones look unnatural.
Step 6: Balance Highlights and Shadows
Reduce highlights if bright areas appear overexposed. Increase shadows slightly to reveal more detail in darker parts of the video.
Step 7: Adjust Temperature
A slightly warmer temperature creates a cinematic golden look, while a cooler temperature produces a clean and modern appearance. Choose the one that suits your content.
Step 8: Fine-Tune Tint
If your video has unwanted green or purple tones, use the tint adjustment to balance the colors.
Step 9: Preview Your Edit
Play the video several times and compare it with the original. Make small adjustments until you’re satisfied with the overall appearance.
Step 10: Export the Video
Once the edit is complete, tap the export button and choose the highest quality available. Exporting in 1080p or 4K ensures the best visual quality for social media.
Best Settings for Professional CC Editing
Despite the individual nature of each video, these values will be a great starting point to get a cinematic effect.
Setting | Recommended Value
Brightness – (+10)
Contrast – (+15)
Saturation – (+10)
Highlights – (-15 )

Shadows – (+12)
Temperature – Slightly Warm
Tint – Neutral
Sharpen – Low
Resolution – 1080p or 4K
FPS – 30 or 60 FPS
These values are only suggestions. Depending on your lighting conditions, you may need to make small adjustments to achieve the best results.
Common Mistakes to Avoid
Newbies make little mistakes that affect the quality of their edit negatively. Some of the most typical mistakes people make when editing include:
**Using Poor Quality Footage:** It does not matter how well you edit; poor quality video footage cannot be improved at all. It is crucial always to use high-quality videos.
**Over-Saturating Videos:** Over-saturated videos look unnatural. It is better to strive for natural colors.
**Too Much Contrast:** Excessive contrast can hide important details in shadows and highlights. Make adjustments gradually.
**Ignoring White Balance:** Incorrect white balance can make skin tones look unnatural. Always check the temperature and tint settings.
**Overusing Effects:** Adding too many filters or effects can make your video look messy. Keep your edit clean and simple.
**Exporting in Low Resolution:** Always export your video in high quality to maintain sharpness and detail.
Pro Tips for Better CC Editing
* Record videos in natural daylight whenever possible.
* Use consistent lighting throughout your video.
* Make small adjustments instead of drastic changes.
* Compare the edited version with the original frequently.
* Save your favorite settings as a preset for future projects.
* Practice on different types of footage to improve your editing skills.
* Keep colors balanced to maintain a professional look.
* Watch trending edits for inspiration, but develop your own editing style over time.
Frequently Asked Questions (FAQ)
1. What is CC Editing in Alight Motion?
CC Editing refers to Color Correction and Color Grading, which improve the appearance of your videos by adjusting brightness, contrast, saturation, shadows, highlights, and color tones.
2. Is CC Editing free in Alight Motion?
Yes, many color adjustment tools are available in the free version. However, some premium effects and features require a subscription.
3. Can beginners learn CC editing?
Absolutely. With regular practice and the right settings, beginners can create professional-looking videos using Alight Motion.
4. Which export settings are best?
Export in **1080p** or **4K** at **30 or 60 FPS** for the best quality, depending on your device and platform requirements.
5. Can I use presets instead of editing manually?
Yes. Presets can save time, but you should still adjust them according to your video’s lighting and colors.
6. Why do my colors look different after exporting?
Some devices display colors differently. Also, exporting in low quality may affect the final appearance. Always use the highest available export settings.
7. Does CC editing improve video quality?
CC editing makes your video look better, but it can’t recover anything that is missing from your videos because of low resolution or blurriness.
8. Can I use these settings for Instagram Reels and YouTube Shorts?
Sure. These settings will work great for short-form videos on Instagram Reels, YouTube Shorts, TikTok, and Facebook Reels.
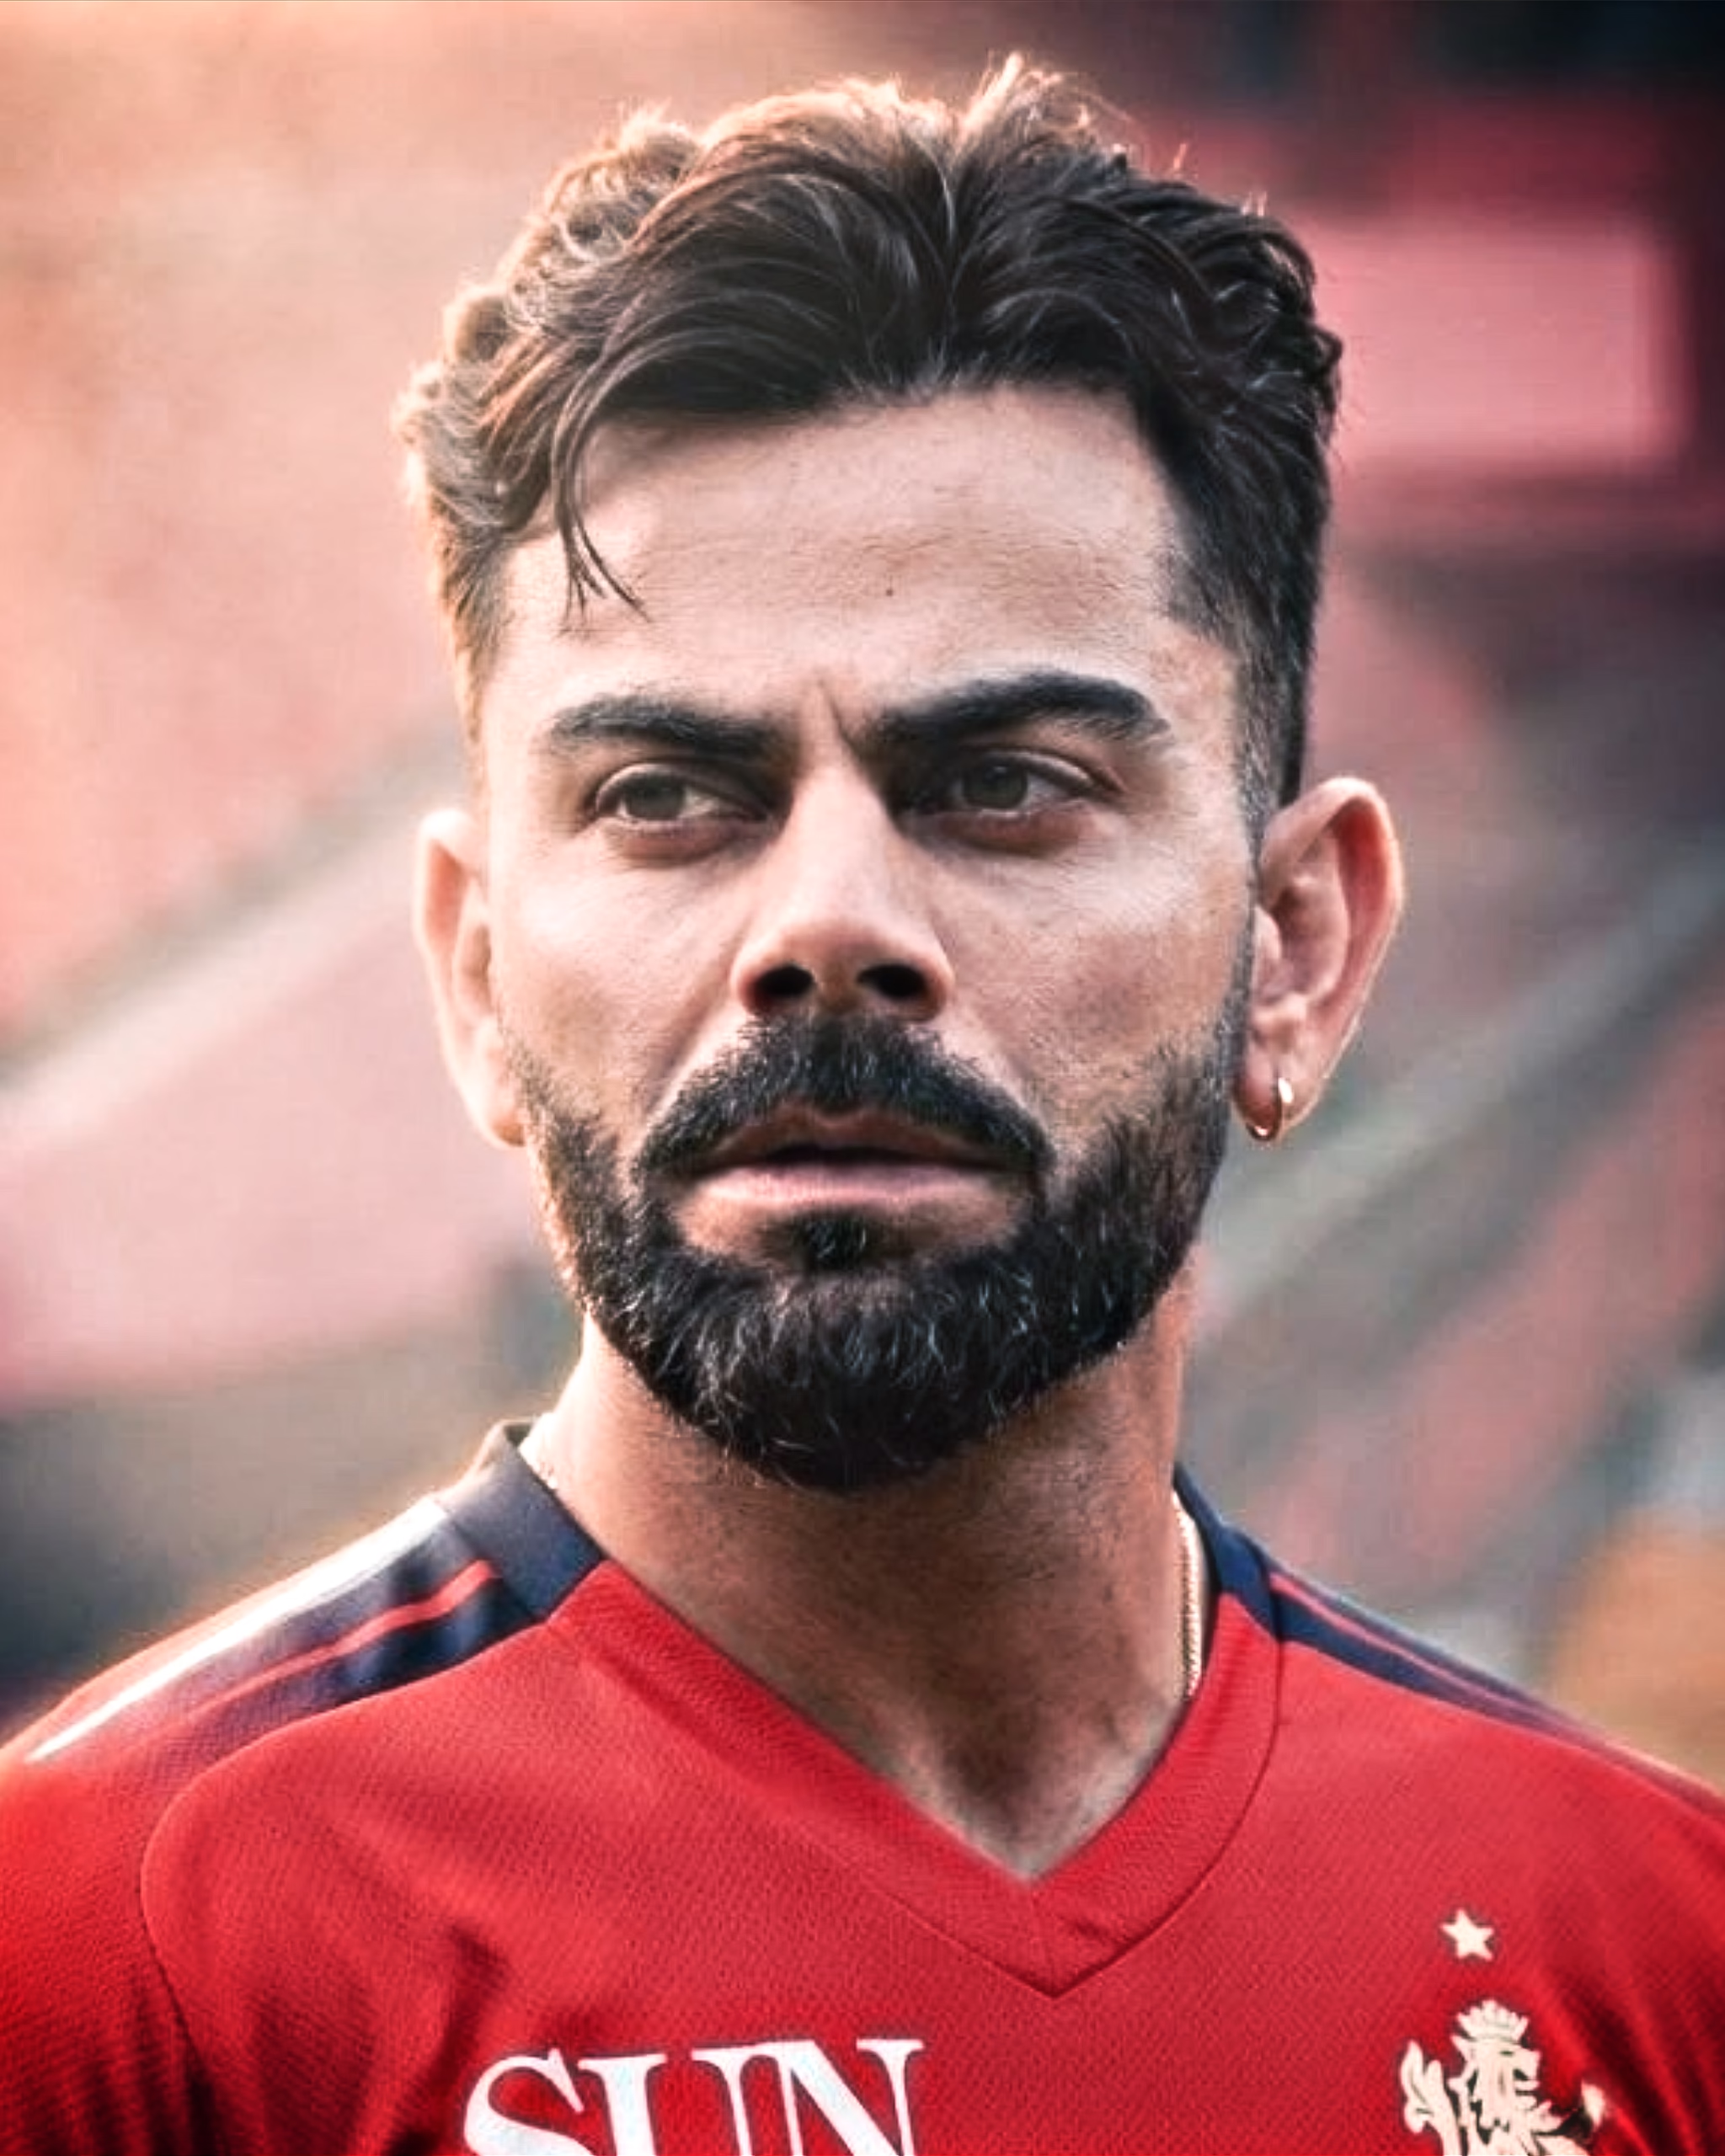
PRESETS LINK : DOWNLOAD
Conclusion
Color correction (CC) is among the most critical competencies that one should have in order to make professional videos in Alight Motion. You will be able to turn any dull video into an impressive work by properly adjusting brightness, contrast, saturation, highlights, and shadows.
For perfect color correction, it is necessary to make subtle adjustments. Since all the videos differ from each other, it is recommended to spend some time checking previews and making changes according to your video. In this way, you will form your editing style.
I hope that the **CC Editing in Alight Motion Tutorial** was helpful in understanding the entire procedure. In case you have found this tutorial beneficial, do check out our other Alight Motion tutorials on the website to enhance your video editing skills further.