How to Edit Like a Pro: Master Cinematic Storytelling Editing
Nowadays, video editing is not only about joining clips together and adding background music. In the digital age where millions of videos are uploaded every second, a unique feature is needed to distinguish oneself. That feature is cinematic storytelling editing whether it is for a movie, YouTube video, travel film, or advertisement. If you have ever asked yourself how high-quality YouTube creators manage to bring emotions out of you, it is not because of good cameras or fancy software. The art of creating a story using proper pacing, sound design, and color grading is what makes the difference between an amateur and a pro.
In this guide, you will discover everything you need to know about the process of creating a unique story with a unique visual narrative.
1. Understanding the Core Philosophy of Cinematic Editing
Before touching any timeline in Adobe Premiere Pro, DaVinci Resolve, or Final Cut Pro, you need to understand what makes a video “cinematic.”
Cinematic editing is a psychological process. It is about controlling the viewer’s gaze, building anticipation, and delivering emotional payoffs. A professional editor doesn’t just ask, “Does this cut look good?” Instead, they ask, “What should the audience feel at this exact second?”
The Rule of Intent:
Every cut, transition, and effect must serve a purpose. If a transition doesn’t push the story forward, remove it.Breathing Room:
Amateurs tend to pack every second with flashy effects. Professionals know that silence and slow pacing are powerful tools to build tension.
2. The Narrative Arc: Structuring Your Edit
Every great story has a beginning, middle, and end, even if your video is only 60 seconds long. To capture and hold attention, structure your edit using a mini-narrative arc:
- The Hook (0-5 Seconds): This is the most crucial part. Start with your video’s most visually striking or emotionally gripping frame. Give the viewer a reason not to scroll away.
- The Journey / Conflict: Introduce the challenge, the setup, or the unfolding beauty of the scene. Build layers by combining wide establishing shots, medium action shots, and tight emotional close-ups.
- The Resolution / Climax: Deliver the emotional peak. This is where your sound design, music drop, and color grade reach their highest intensity.
My Personal Experience: I still remember spending hours throwing random, beautiful clips onto my timeline just because they looked cool, only to watch the final video feel completely lifeless. It wasn’t until I worked on a short travel vlog that I learned the hard truth: a collection of pretty shots does not equal a story. I spent an entire night deleting half of my footage, rearranging the clips to start with a dramatic question, and building a slow emotional curve toward the climax. When I finally exported that version, the viewer retention doubled overnight. That taught me that structuring your edit isn’t about how much footage you show—it’s about the emotional journey you take your audience through from second one.
3. Mastering the Rhythm and Pacing (The Cut)
The pacing of your edit is the pulse of your video. Pacing will control how quickly or slowly your audience feels that time passes.
- Match Cuts & J/L Cuts: Use J-Cuts (where audio from the next piece of footage begins before the footage itself) and L-Cuts (where footage changes before the audio does) to create smooth transitions from one piece of dialogue or scene to another.
- Cutting with Rhythm: Cut on the beat in action sequences, but don’t be afraid to cut against the beat in emotional and dramatic ones.
- Shot Size Variation: Never follow a shot with one of the exact same size. Alternate wide, medium, and close up shots in that order (Wide -> Medium -> Closeup).
4. Sound Design: The Unsung Hero of Cinematic Edits
Strong audio can have a major impact on how cinematic and immersive an edit feels. You can have stunning 4K footage, but if your sound design is flat, the video will feel amateur.
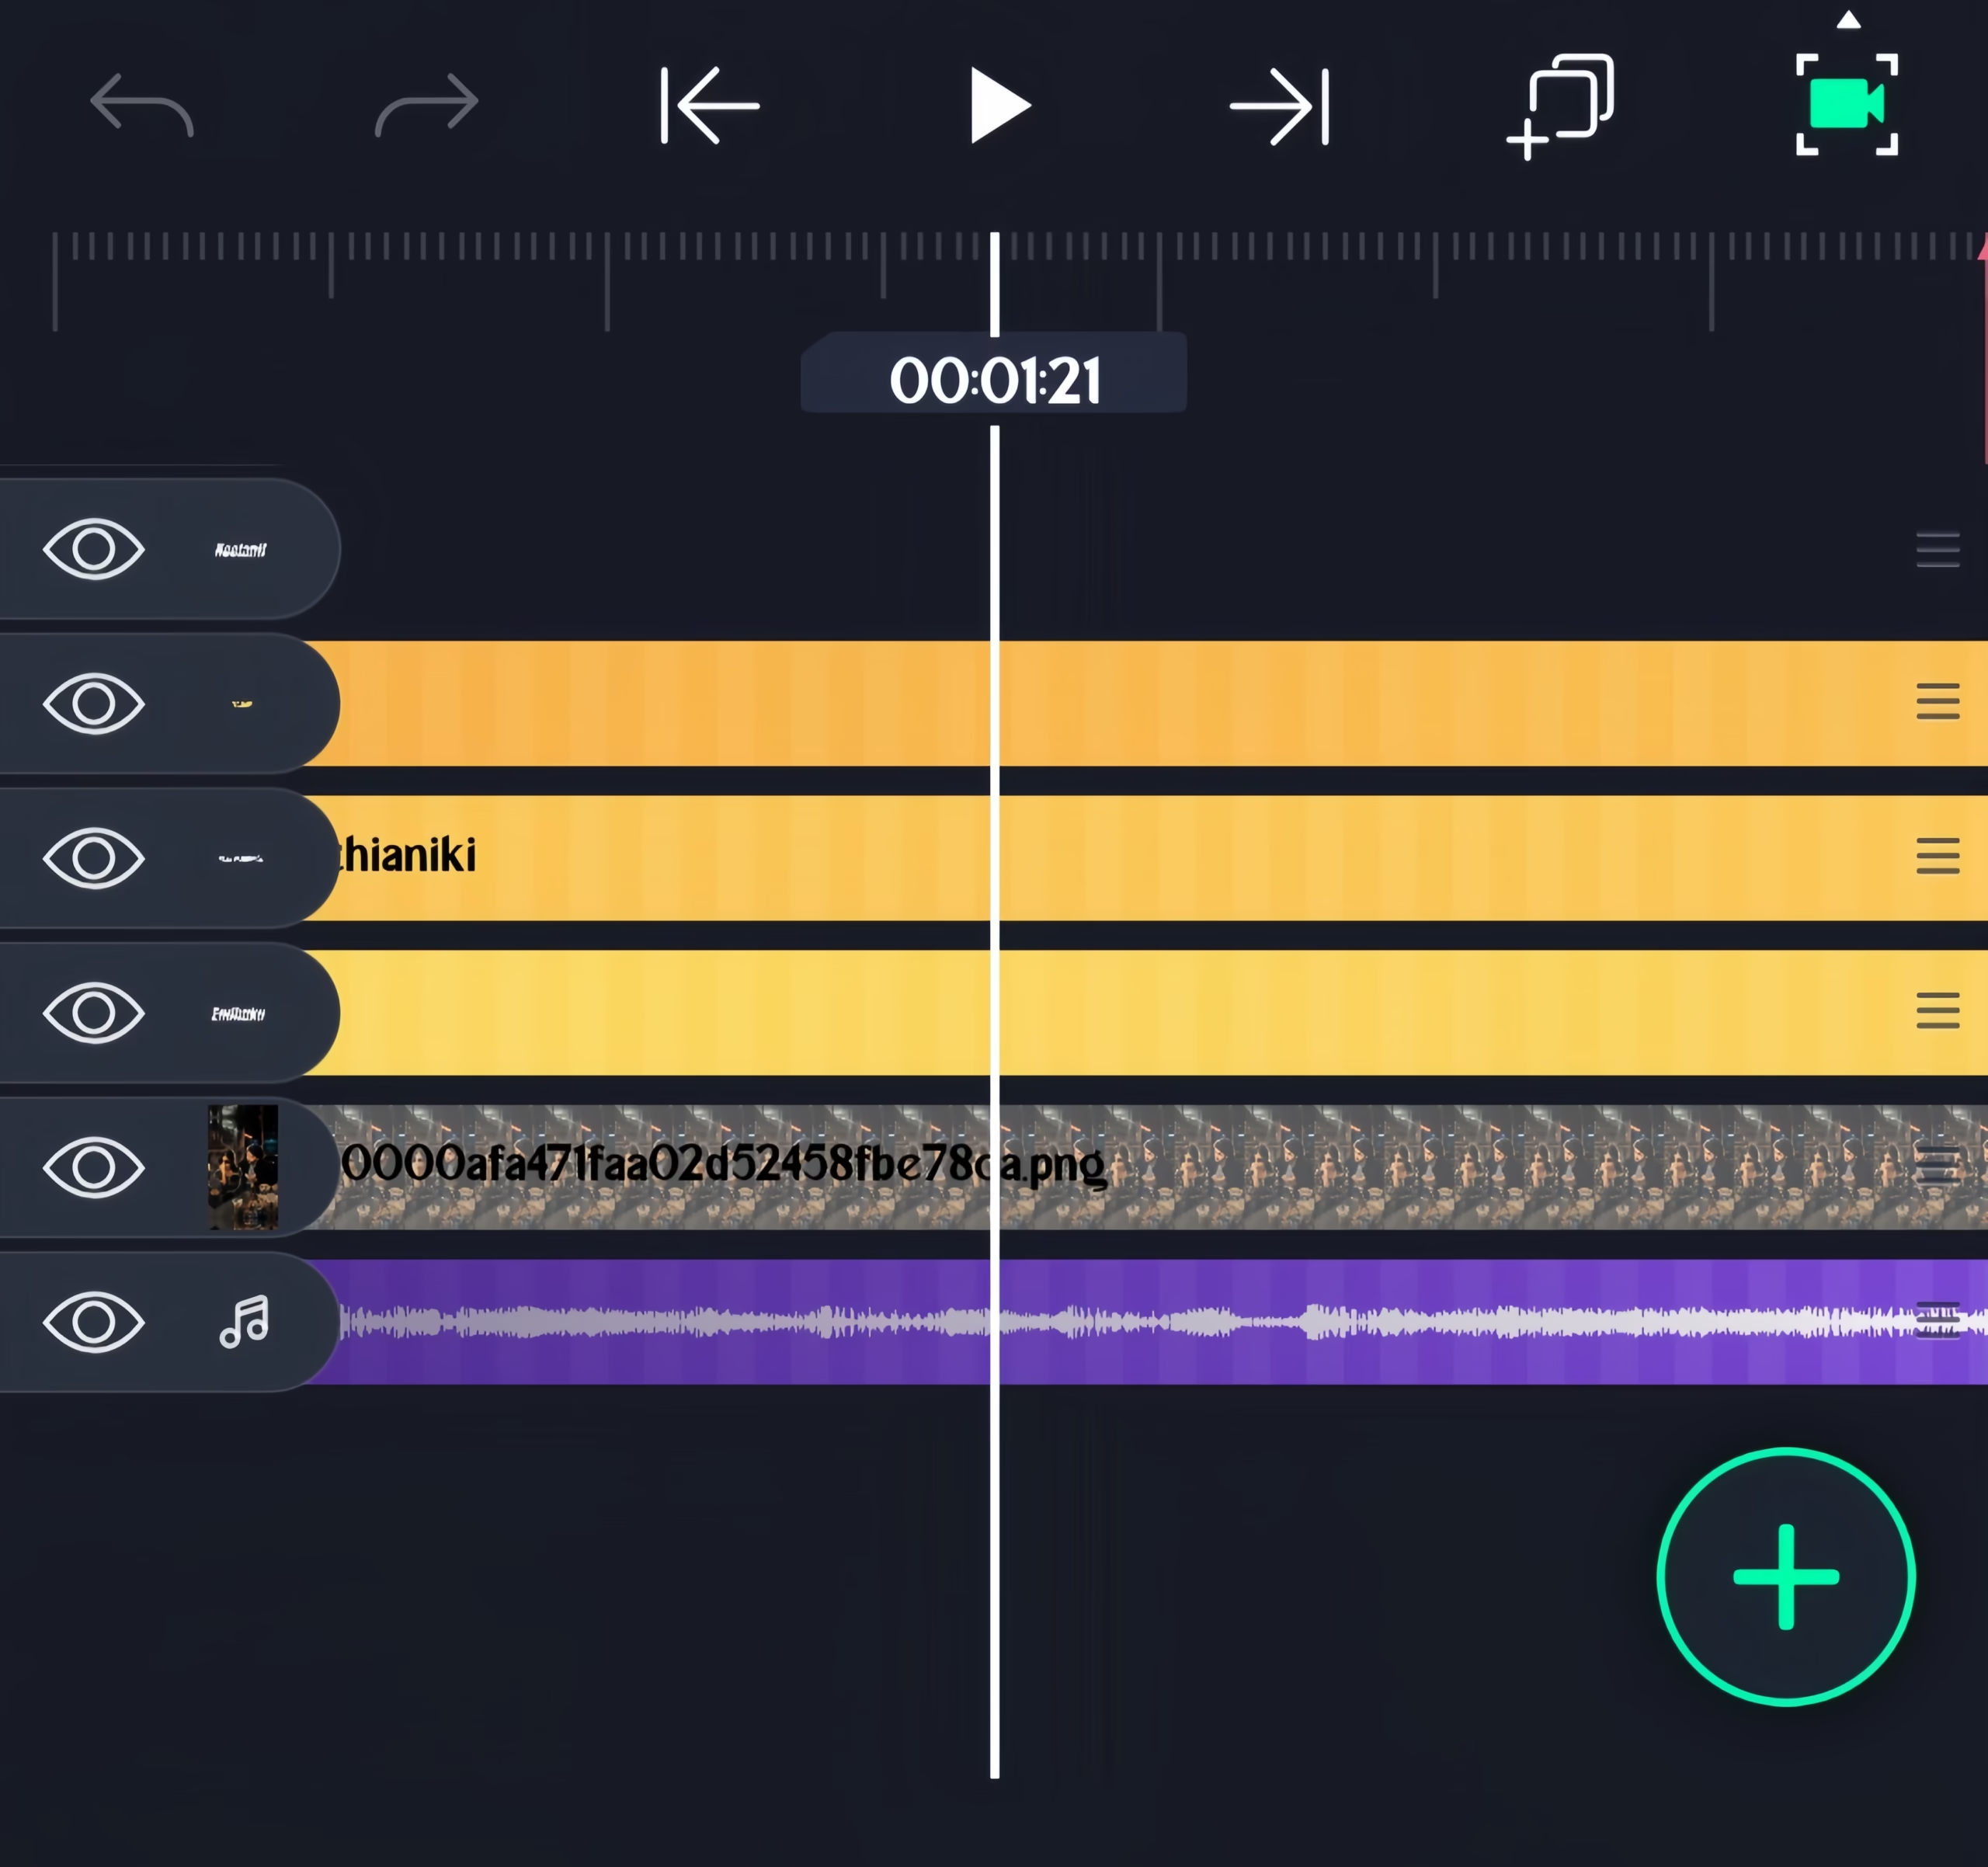
To achieve a cinematic feel, layer your audio into at least four distinct tracks:
- Dialogue / Natural Sound (Dialog/Nat Sound): Keep dialogue crisp and remove background hums.
- Foley / Sound Effects (SFX): Add subtle background sounds like wind, footsteps, fabric swishes, or camera swooshes. These add depth and realism.
- Atmospheric Sound (Ambience): Low-frequency drones or room tones tie the cuts together smoothly.
- Soundtrack / Score: Choose music that matches the emotional tone. Let the music breathe; lower the volume when important dialogues happen and let it swell during cinematic moments.
5. Color Grading and Mood Creation
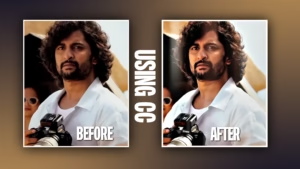
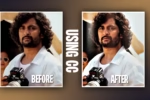
Color grading is where your footage gets its distinct “look” and emotional flavor. Teal and orange looks, moody desaturated tones, or warm vintage film looks all communicate specific psychological cues.
- Exposure & Balance: Always start with basic color correction (exposure, white balance, contrast) before applying creative LUTs (Look-Up Tables).
- Color Palette Consistency: Ensure that clips shot at different times of the day match each other in color temperature and tint.
- Use Vignettes and Masks: Draw the viewer’s eye toward the subject by subtly darkening the edges of the frame.
My Personal Experience: Early in my editing journey, I used to fall into the trap of dumping heavy, high-contrast preset LUTs onto every single clip just to make them look “cinematic.” The result? A messy video where a bright sunny day looked like a moody zombie apocalypse. It took me a frustrating project layout and a lot of eye strain to realize that color grading isn’t about hiding bad footage—it’s about enhancing emotion. The moment I stopped relying on random presets and started manually balancing exposure, skin tones, and subtle teal-and-orange contrast to match the mood of the story, my edits finally stopped looking like generic clips and started feeling like a real film.
Conclusion
In order to achieve the right cinematic storytelling editing style, patience, practice, and experimentation is necessary. Understand the basics of pace, pour yourself into sound design, and always have an emotional objective when you edit.
Begin implementing these editing tips in your next video, and notice how your editing becomes much more than just a montage—it’s cinematic.