How to Create a Foggy Forest Portrait with AI & Lightroom
A normal forest portrait can be transformed into a cinematic foggy forest scene by combining an AI-generated environment with careful color correction in Lightroom.
In this tutorial, you’ll learn how to create the effect using a simple workflow: start with the original portrait, create a realistic misty forest environment, blend the scene naturally, and finish the image with Lightroom adjustments.
What You Need
- An original portrait
- An AI image-generation or background-editing tool
- Adobe Lightroom or Lightroom Mobile
- A photo with a reasonably clear subject
1. Start With the Original Portrait
Choose a portrait where the subject is clearly visible and the background has enough space for an atmospheric forest effect.
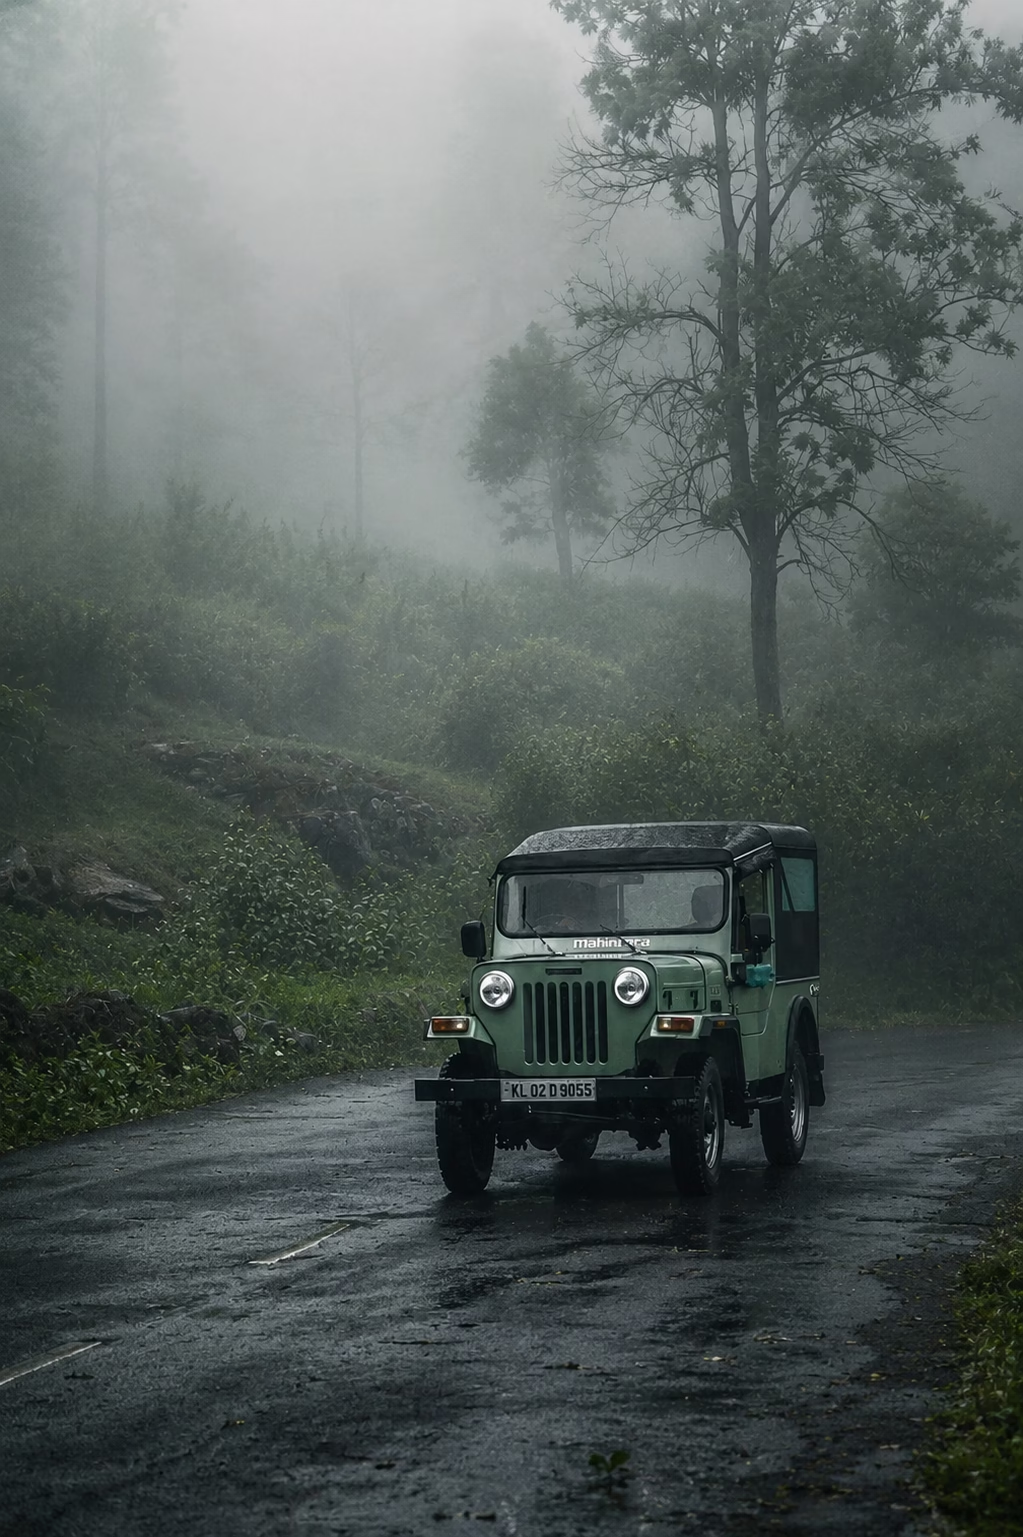
For this edit, the original photograph already contains a natural forest environment. The goal is not to completely change the subject, but to make the surrounding environment look colder, mistier, and more cinematic.
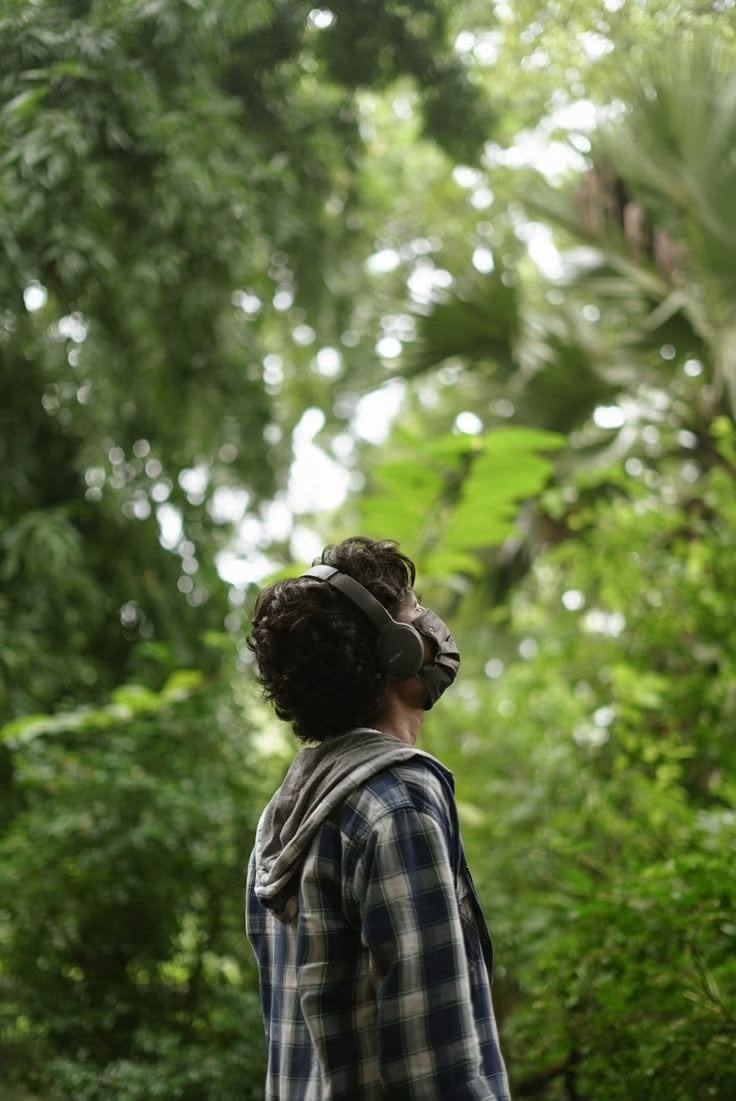
IMPORTANT: Keep the subject, clothing, pose, and important details natural. The background should support the portrait rather than distract from it.
2. Create the Foggy Forest Environment
Use an AI background-generation or background-editing tool to create a realistic misty forest.
The most important part is to describe lighting, fog, depth, foliage, and realism instead of simply asking for a “foggy forest.”
AI Background Prompt
Create a photorealistic cinematic misty forest background with tall natural trees, soft early-morning fog, diffused natural light, muted green foliage, atmospheric depth, subtle shadows, a natural forest path, realistic textures, soft distant details and a calm moody atmosphere. Keep the composition suitable for a portrait subject. No people, no animals, no buildings, no text, no artificial objects.
Recommended AI Result
The generated background should have:
| Element | Target |
|---|---|
| Fog | Dense but transparent |
| Trees | Natural and detailed |
| Distant background | Soft and faded |
| Lighting | Soft, diffused |
| Colors | Deep green + muted teal |
| Shadows | Natural and controlled |
| Perspective | Consistent with the portrait |
TIP: Avoid completely white fog. If the fog hides every background detail, the image can look like a fog overlay rather than a real misty environment.
3. Blend the Background With the Portrait
Place the generated forest environment behind the subject or use it to transform the existing background.
This is where realism becomes important.
Check the following areas carefully:
- Hair edges
- Headphones
- Shoulders
- Clothing edges
- Background around the subject
- Light direction
- Perspective
The background should appear to belong to the same photograph.
QUICK CHECK: Zoom in around the subject’s edges. If you notice a bright outline or halo, refine the masking before moving to Lightroom.

4. Apply the Cinematic Color Grade in Lightroom
After the background is ready, open the image in Lightroom.
The goal is to create a darker woodland appearance while preserving natural details in the subject.
Lightroom Starting Values
| Setting | Starting Value |
|---|---|
| Exposure | +0.20 |
| Contrast | +12 |
| Highlights | -20 |
| Shadows | +25 |
| Whites | +8 |
| Blacks | -10 |
| Vibrance | +12 |
| Saturation | -3 |
IMPORTANT: These are starting values, not fixed rules. If your photograph is already bright, reduce Exposure. If the image is too dark, increase Exposure slightly. Always judge the result using your actual photograph.
Color Direction
For a cinematic forest appearance, aim for:
- Deep emerald green
- Moss green
- Slight dark-teal influence
- Muted highlights
- Natural earthy tones
Don’t oversaturate the foliage. Slightly controlled greens generally look more natural than extremely bright green colors.
5. Make the Fog Look Natural
Fog should have different levels of visibility throughout the scene.
Keep the foreground and subject relatively clear while allowing distant trees to gradually disappear into the mist.
This creates atmospheric depth.
Fog Check
Good fog:
- Distant trees become softer
- Background contrast decreases gradually
- Subject remains clearly visible
- Light passes naturally through the mist
Too much fog:
- Subject becomes unclear
- Background loses all detail
- Image looks washed out
- White haze covers everything
BEST PRACTICE: The fog should create depth, not simply cover the entire photograph with white.
6. Compare the Original and Final Result
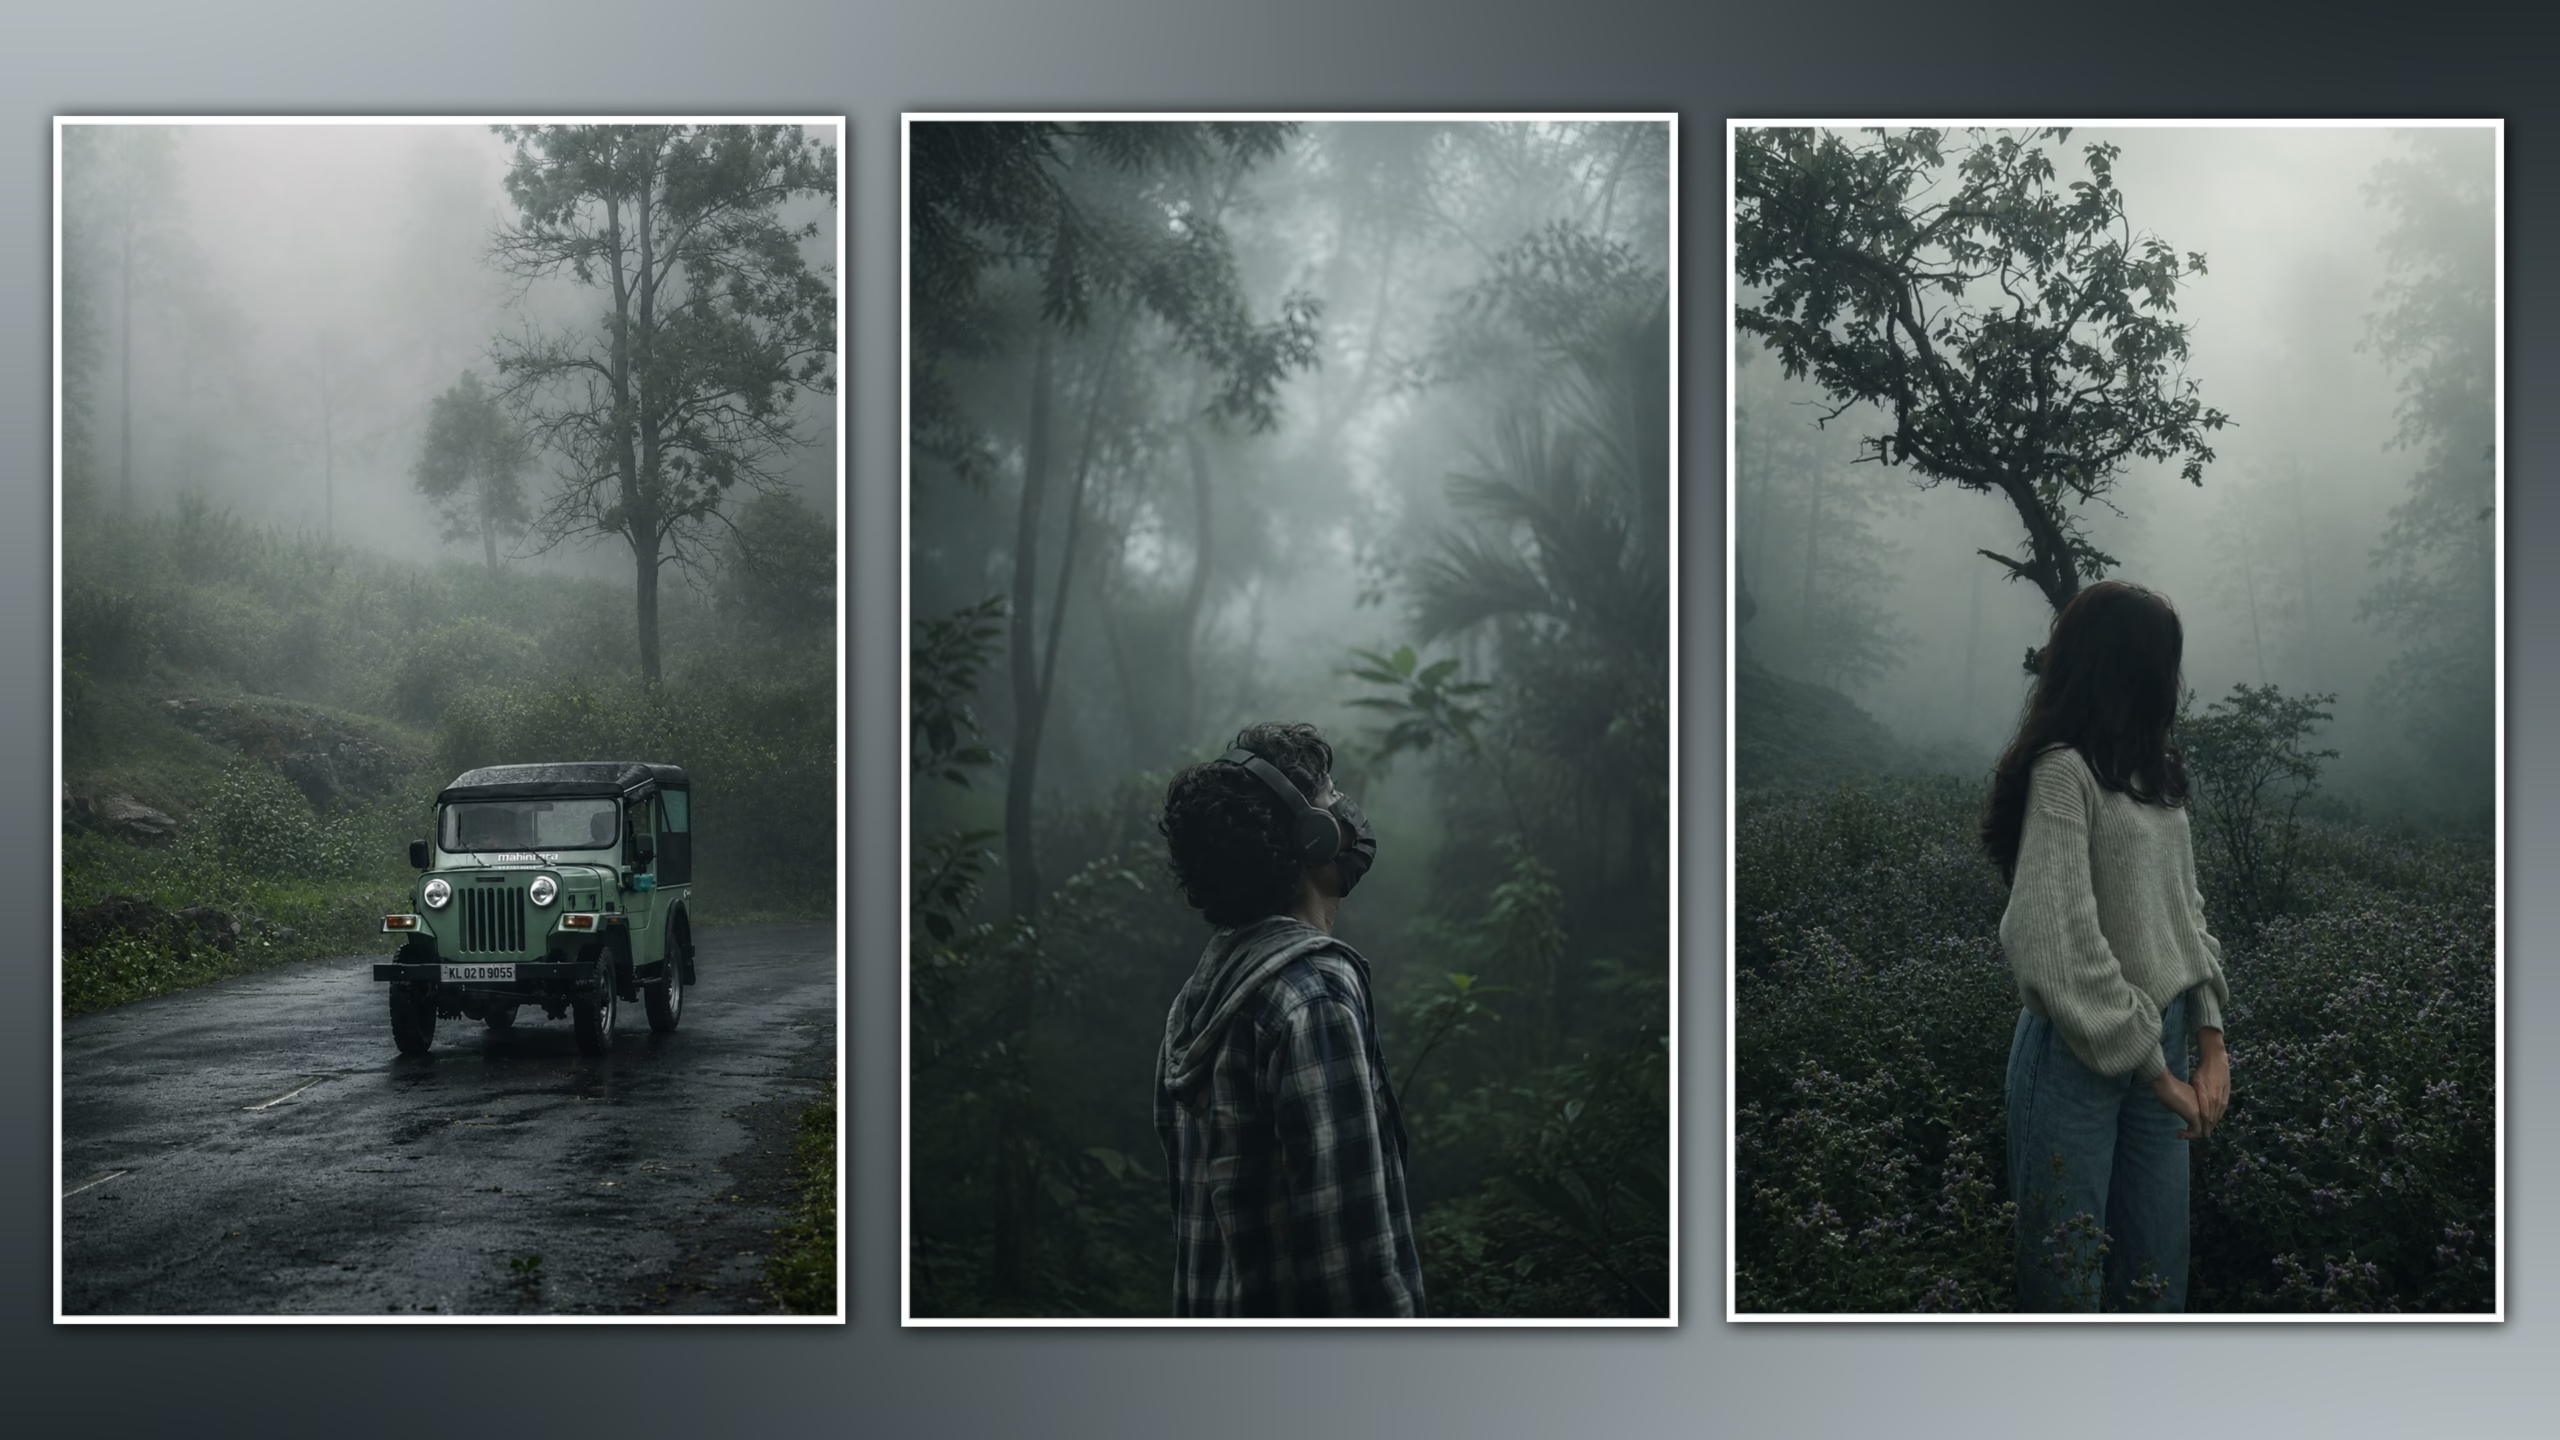
After completing the AI background work and Lightroom color correction, compare the result with the original photograph.
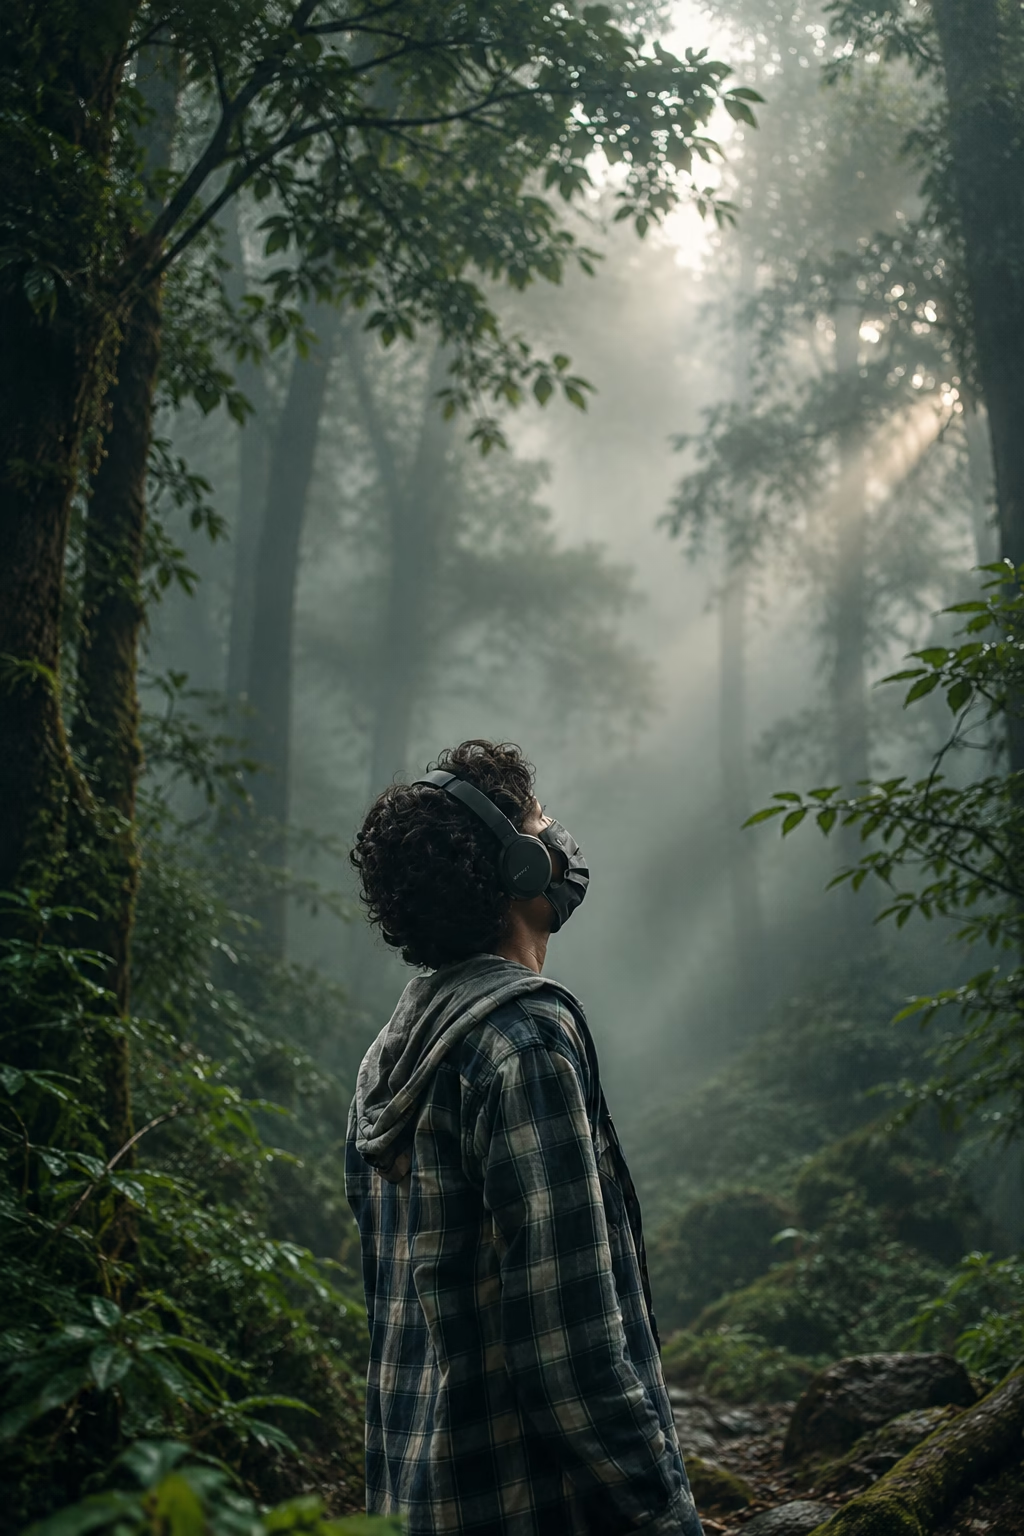
The final image should show a clear difference in atmosphere while keeping the main subject believable.
What Changed?
Original:
The photograph has a brighter, natural green forest environment with a clearer background.
Final:
The environment has a cooler cinematic tone, deeper forest colors, softer distant details, atmospheric fog, and more controlled contrast.
The objective is not simply to make the image darker. The important improvement is the combination of fog, depth, lighting and color consistency.
Recommended Settings Summary
For quick reference:

LIGHTROOM QUICK PRESET
Exposure: +0.20
Contrast: +12
Highlights: -20
Shadows: +25
Whites: +8
Blacks: -10
Vibrance: +12
Saturation: -3Use these values as a starting point and adjust them according to your original photograph.
Common Mistakes to Avoid
Too Much Fog
Heavy white fog can remove depth and make the image look artificial.
Over-Saturated Greens
Very bright greens can make the forest look unrealistic. Keep the colors rich but controlled.
Incorrect Lighting
If the background light comes from a completely different direction than the subject’s lighting, the composite will look unnatural.
Poor Masking
Halos around hair, headphones, shoulders, or clothing can reveal the background replacement.
Excessive Contrast
Too much contrast can make the forest look harsh. Keep the distant environment softer than the main subject.
Frequently Asked Questions
Can I create this effect with Lightroom Mobile?
Yes. Lightroom Mobile can be used for the color correction and tonal adjustments. The AI background work can be done separately using a suitable AI editing tool.
Do I need to use the exact Lightroom values?
No. The values are starting points. Different photographs require different adjustments depending on exposure, lighting and camera conditions.
How can I make the fog look realistic?
Use gradual fog rather than an equally dense layer across the entire image. Distant objects should generally appear softer and lower in contrast.
Can I use another forest background?
Yes. Choose a background with a perspective and lighting direction that match your original photograph.
Final Thoughts
Creating a cinematic foggy forest portrait is mainly about realistic background integration and controlled color grading.
A convincing result doesn’t require extreme effects. Matching the lighting, keeping the subject clear, controlling the green tones, and using gradual fog can make the final photograph feel much more natural.
The AI background creates the atmosphere, while Lightroom helps bring the subject and environment together with a consistent cinematic look.