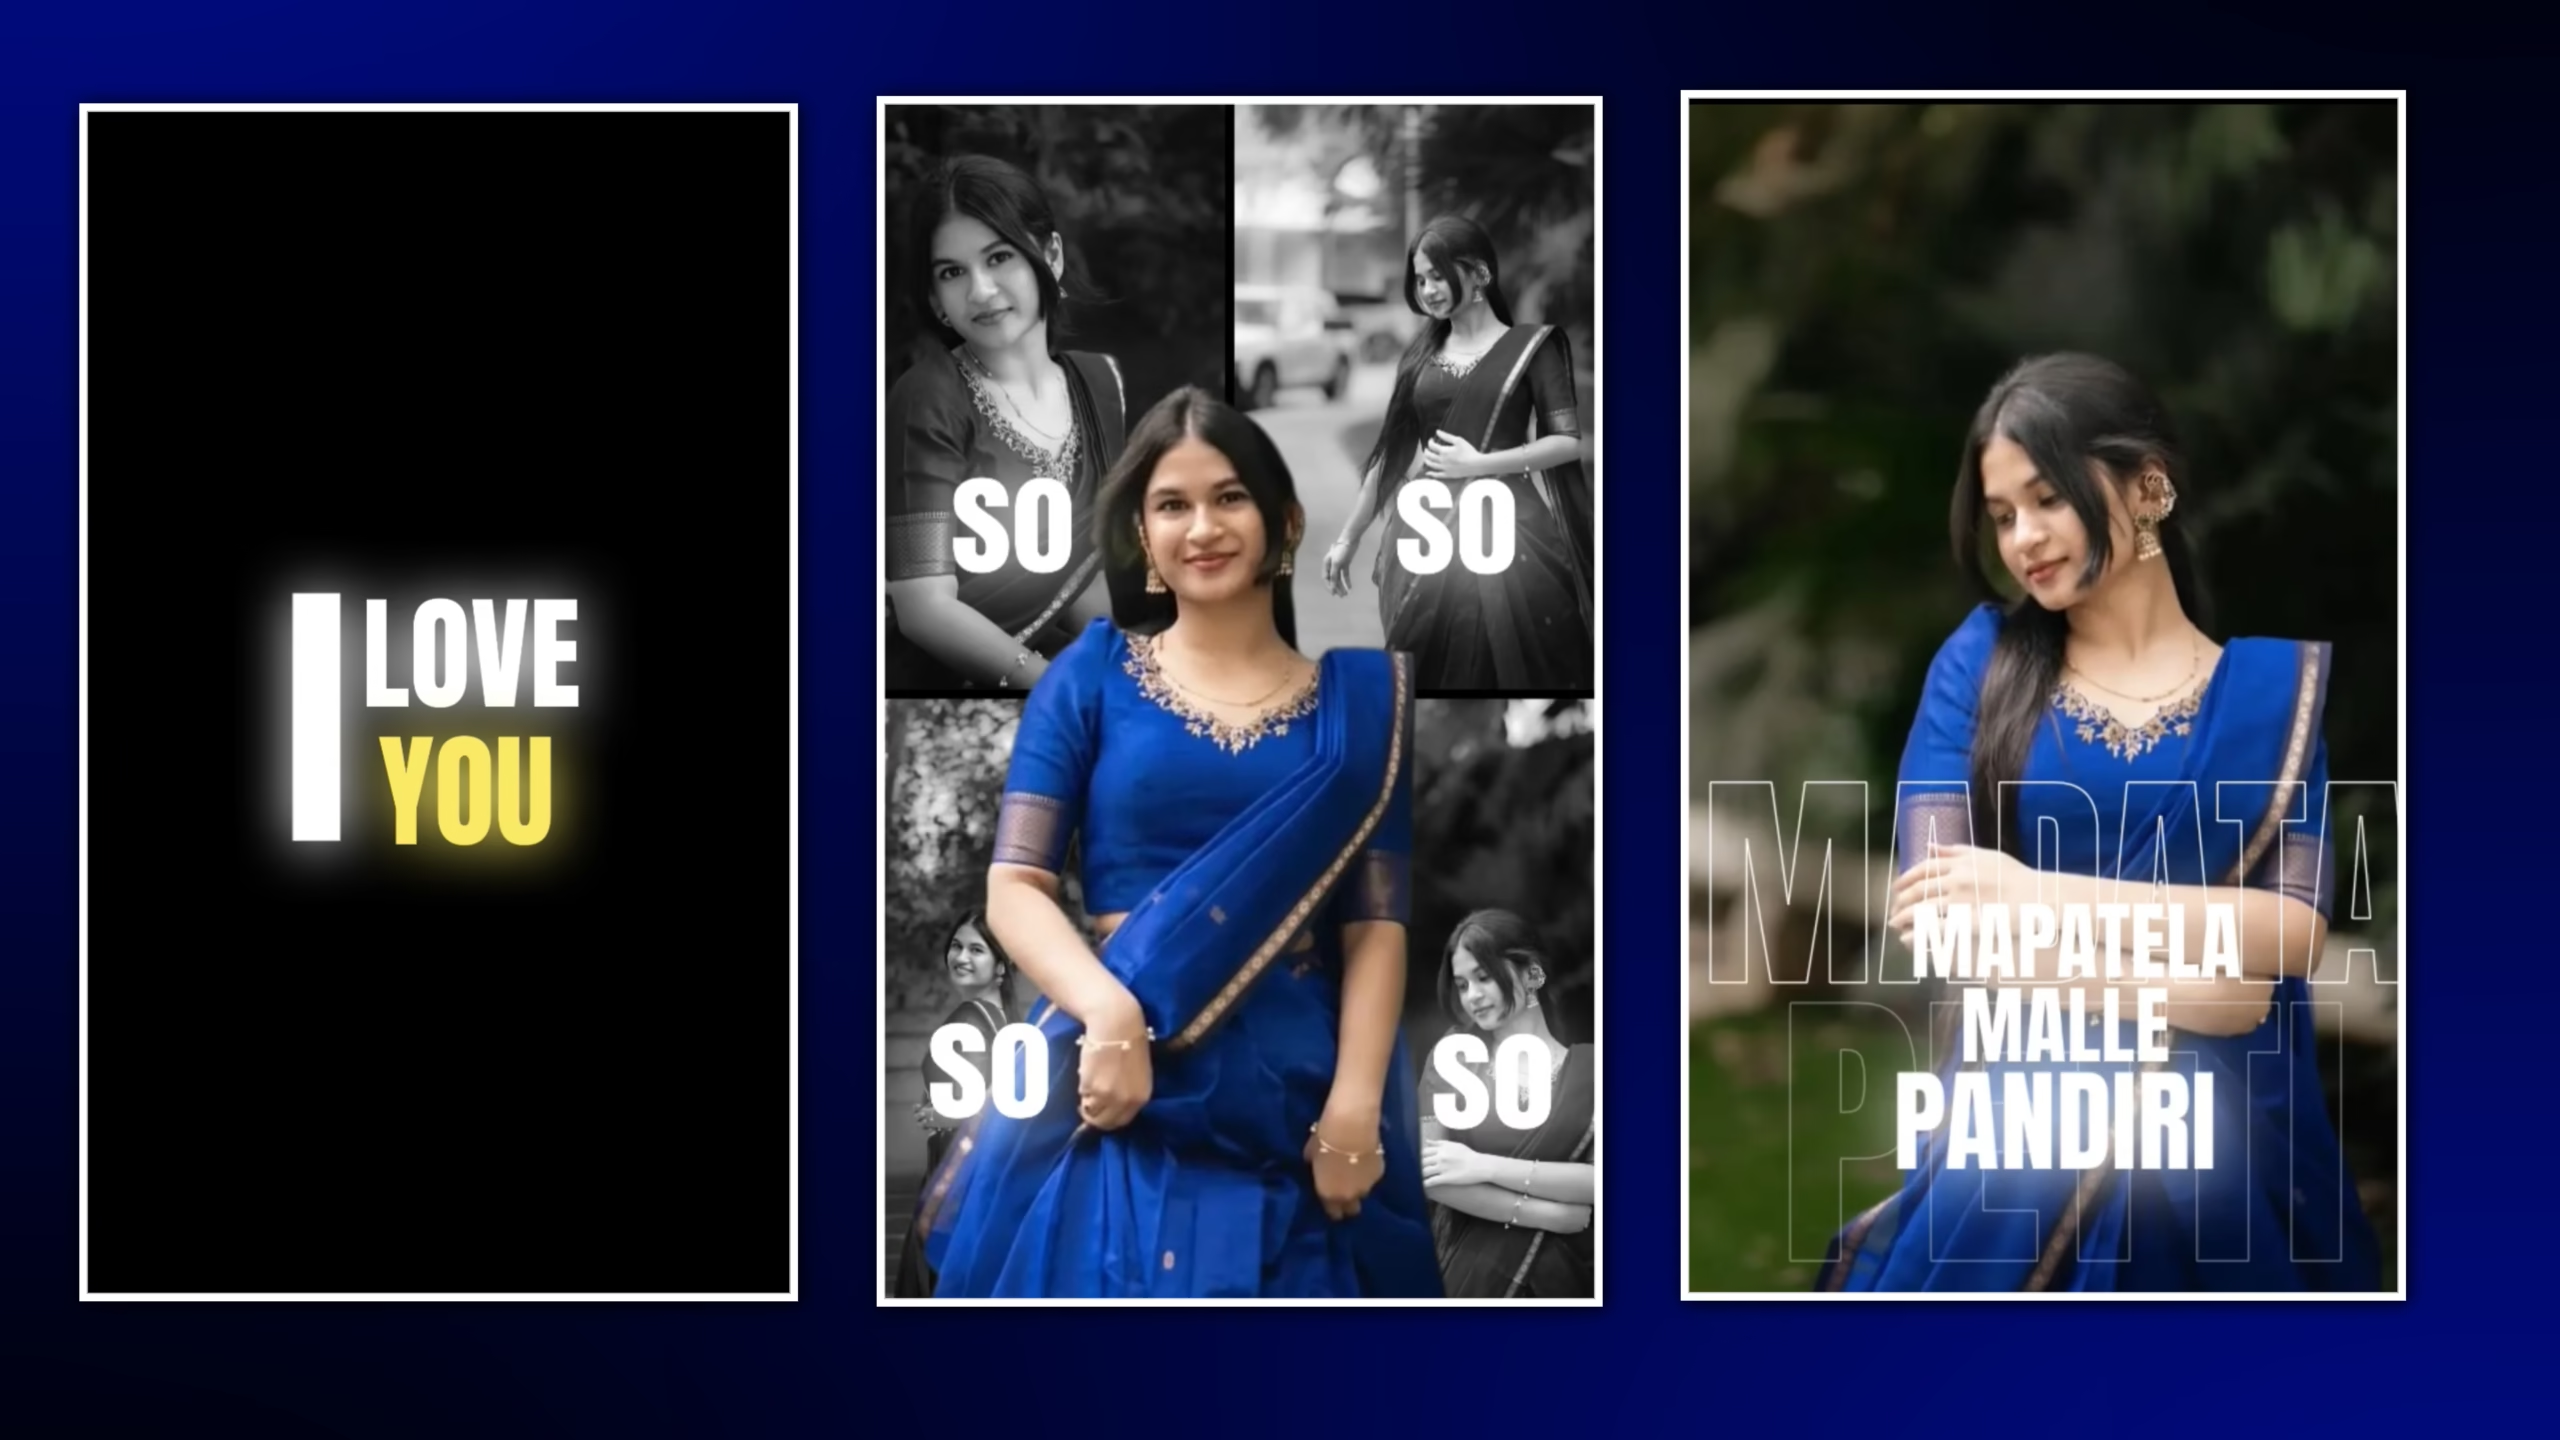
Create a Smooth Cinematic Ripple Effect Video Edit
A cinematic ripple effect can make a simple video more dynamic when it is used with the right timing, movement, and intensity. The goal is not to create the strongest distortion, but to make the effect feel like a natural part of the footage.
A polished ripple edit depends on clean source footage, controlled distortion, smooth animation, consistent movement, and proper timing. This workflow focuses on the editing decisions that have the biggest impact on the final result.
1. Choose the Right Footage
Start with footage that gives the ripple effect enough visual space to work.
Good footage usually has:
- A clear main subject
- Stable or controlled camera movement
- Clean background areas
- Good lighting
- Sharp facial and clothing details
- A noticeable movement or transition point
Ripple effects work particularly well with slow subject movement, camera push-ins, pans, reflections, lights, or open backgrounds.
Avoid heavily shaky footage when possible. Combining strong camera shake with distortion can make the result look messy.
EDITOR TIP: Choose footage based on movement and composition rather than simply choosing the highest-resolution clip. Well-composed footage is easier to turn into a convincing cinematic edit.
2. Set the Project Correctly
For Instagram Reels, YouTube Shorts, and other vertical videos, use a 9:16 project.
| Setting | Recommended Value |
|---|---|
| Resolution | 1080 × 1920 px |
| Aspect Ratio | 9:16 |
| Frame Rate | Match source footage |
| Format | MP4 |
| Codec | H.264 |
If your source video is 30 FPS, a 30 FPS project is normally appropriate. For 60 FPS footage where smoother motion is important, a 60 FPS project can be used when supported by your editing workflow.
Avoid unnecessary frame-rate conversion because it can affect motion quality.
3. Create the Ripple Effect
Import the clip and trim it to the exact moment where the ripple should appear.
Depending on the editing application, the effect may be called Ripple, Wave, Distortion, Displacement, or Water Ripple.
Common controls include:
- Intensity
- Size
- Speed
- Direction
- Center
- Duration
- Opacity
Start with a low or medium intensity rather than using a strong distortion immediately.
Useful Starting Values
| Ripple Setting | Starting Point |
|---|---|
| Intensity | 10–25% |
| Duration | 0.3–0.8 sec |
| Opacity | 70–100% |
| Ripple Size | Medium |
These are starting points rather than fixed settings because different applications use different scales.
The distortion should add movement without making the subject’s face or body look heavily warped.
4. Animate the Ripple Intensity
A static ripple often looks less natural than an animated one.
Use keyframes or the application’s animation controls to make the effect build and disappear smoothly.
A useful pattern is:
Start → Build → Peak → Fade
For a 0.7-second effect:
| Time | Intensity |
|---|---|
| 0.00 sec | 0% |
| 0.15 sec | 15% |
| 0.30 sec | 25% |
| 0.50 sec | 10% |
| 0.70 sec | 0% |
If your editing app supports easing or animation curves, use smooth easing instead of abrupt keyframe changes.
SMOOTHNESS TIP: The ripple should feel like a short visual pulse. If it suddenly jumps from weak to strong, reduce the keyframe differences or use smoother easing.
5. Control the Ripple Center and Direction
The position of the ripple can significantly change the appearance of the edit.
For portrait videos, avoid placing the strongest distortion directly over important facial details unless that distortion is intentional.
Instead, position the effect around:
- The background
- The subject’s outer edges
- A light source
- A transition point
- An area with natural movement
Match the direction of the ripple with the movement already present in the footage.
For example:
- Horizontal camera movement → horizontal ripple
- Vertical movement → vertical distortion
- Forward movement → expanding ripple
- Circular movement → radial or wave-like distortion
The effect does not need to perfectly follow the camera, but it should not strongly contradict the scene’s natural movement.
6. Use the Ripple as a Transition
A ripple can work effectively between two clips.
Basic Workflow
- Place the first clip on the timeline.
- Place the second clip immediately after it.
- Trim both clips around the transition point.
- Apply the ripple near the end of the first clip.
- Increase the intensity toward the cut.
- Let the effect fade as the second shot begins.
- Match the movement of both clips where possible.
A practical transition duration is around 0.3–0.8 seconds.
A shorter transition can feel more energetic, while a longer one may suit slower cinematic footage.
Avoid using the same ripple transition between every clip. Repetition can make the video feel like a preset rather than a deliberately edited sequence.
7. Separate the Subject From the Background
For portrait-based edits, separating the subject from the background can create a more advanced result.
Use a duplicate-layer structure:
Top layer: Isolated subject
Bottom layer: Ripple-affected video
Workflow
- Duplicate the original video.
- Place the duplicate above the original.
- Remove the background from the top layer using masking or subject selection.
- Apply the ripple primarily to the lower layer.
- Keep the subject layer relatively stable.
- Inspect the mask around hair, hands, shoulders, and clothing.
This allows the environment to distort while the main subject remains clearer.
Clean masking is important. Visible halos around hair or clothing can make an otherwise good effect look artificial.
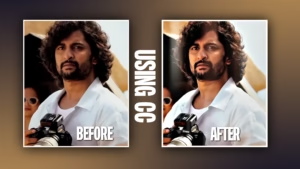
8. Apply Cinematic Color Correction
Complete the ripple animation before applying the final color grade.
Start with:

- Exposure
- Contrast
- Highlights
- Shadows
- Temperature
- Saturation
Cinematic Starting Values
| Adjustment | Starting Range |
|---|---|
| Exposure | ±0.2 |
| Contrast | +5 to +15 |
| Highlights | −10 to −25 |
| Shadows | +5 to +15 |
| Saturation | −5 to +5 |
Use these only as starting points and adjust them according to the original footage.
For a cinematic appearance, controlled highlights and slightly deeper shadows can work well. Avoid crushing shadow detail.
Keep skin tones natural. A cinematic color grade should improve the atmosphere without making faces look unnaturally orange, red, or gray.
COLOR CHECK: Temporarily disable the color grade. If the skin tones look natural before grading but unnatural afterward, reduce the intensity of the color adjustments.
9. Sync the Ripple With Music
Timing the ripple with the soundtrack can make the effect feel intentional.
Look for:
- Strong beats
- Bass hits
- Snare hits
- Music drops
- Vocal emphasis
A simple structure is:
Beat → Ripple builds → Peak → Transition
The strongest point does not always need to occur exactly on the beat. A slight lead or delay can work better depending on the movement in the footage.
Avoid applying the ripple to every beat. Use it at important moments so the effect retains its impact.
10. Export the Final Video
After checking the complete edit at normal playback speed, export using settings appropriate for your footage and target platform.
For a standard 1080p vertical video:
| Export Setting | Recommended Value |
|---|---|
| Resolution | 1080 × 1920 |
| Frame Rate | Same as project |
| Format | MP4 |
| Codec | H.264 |
| Bitrate | Around 8–16 Mbps |
If the original video is 4K and your system supports high-res upload capabilities, then export to that higher resolution.
Be careful about exporting and reimporting the same video clip multiple times since each export causes image degradation.
Final Quality Checklist
Before publishing, check:
- The footage is clear and suitable for distortion.
- The ripple appears only at meaningful moments.
- The intensity builds and fades smoothly.
- The ripple direction supports the scene’s movement.
- Important facial details remain clear.
- Subject masking has clean edges.
- Skin tones remain natural.
- The ripple timing works with the music.
- The transition feels smooth rather than abrupt.
- The exported video retains good detail and motion quality.
The ripple effect in cinema is not dependent on too many effects. The key to creating an effective ripple effect in cinema **lies in controlling the distortion and timing of the ripple**.
Use subtle settings for the ripple effect, and use it sparingly only where necessary in the video