Videos have always been among the most efficient means of contacting an audience via social media. No matter whether you are creating Instagram reels, YouTube shorts, Facebook videos, or even videos on TikTok, you will realize that having an efficient video editing application at your disposal is very important. There are several video editing applications that are currently available in the market; but one such application that has become famous is the CapCut Video Editing App.
CapCut is a perfect combination of useful editing tools, AI technology, fantastic effects, and a user-friendly interface. It does not matter how many times you have not edited videos – you will not spend much time learning the skills of creating top-notch videos on CapCut. At the same time, professional content creators appreciate its advanced editing tools like keyframe animation, color grading, masking, motion blur, and fantastic slow-motion effects.
However, there is one more aspect that can explain why CapCut is used so much. That is the fact that many amazing features are available for free within CapCut. With CapCut, users can cut videos, make transitions, insert background music, use movie-style filters, get automatic subtitles and export videos in HD or even 4K.
All the details about CapCut Video Editing App will be covered in this guide. It includes information on the features, benefits, downloading, editing tricks, and reasons for which CapCut is still one of the most popular video editing apps in 2026.
What is CapCut Video Editing App?
It is a powerful video editing software that enables users who wish to create quality videos but do not have expertise in video editing. It supports both android and iPhone versions as well as windows and Mac computers.
This software provides an easy-to-use user interface which helps users to upload images or video, trim out the irrelevant parts, insert transition effects, insert text effects, add filters, and save their work in HD format. The simple design of the application makes it highly convenient for newbies to use right away.
The use of CapCut is highly common among content creators, influencers, vloggers, gamers, photographers, and businessmen who post videos on social media sites such as Instagram, YouTube, Facebook, and TikTok. The mixture of usability and advanced editing features has made CapCut one of the most reliable editing apps in the world.
While most editing apps demand a costly subscription plan, CapCut gives its users the option of using several editing tools of high quality for free. While the Pro version provides more templates and uses artificial intelligence, the free one is sufficient for making excellent videos.
Why CapCut is So Popular in 2026
CapCut will continue its dominance in the mobile editing industry due to the availability of professional editing tools offered in an easy manner. The application doesn’t confuse the users by providing them with complex menus.
The AI editing feature offered by CapCut is one of the key attractions for creators. This feature saves the user’s time through automatic captioning, background removal, video improvement, and other similar processes.
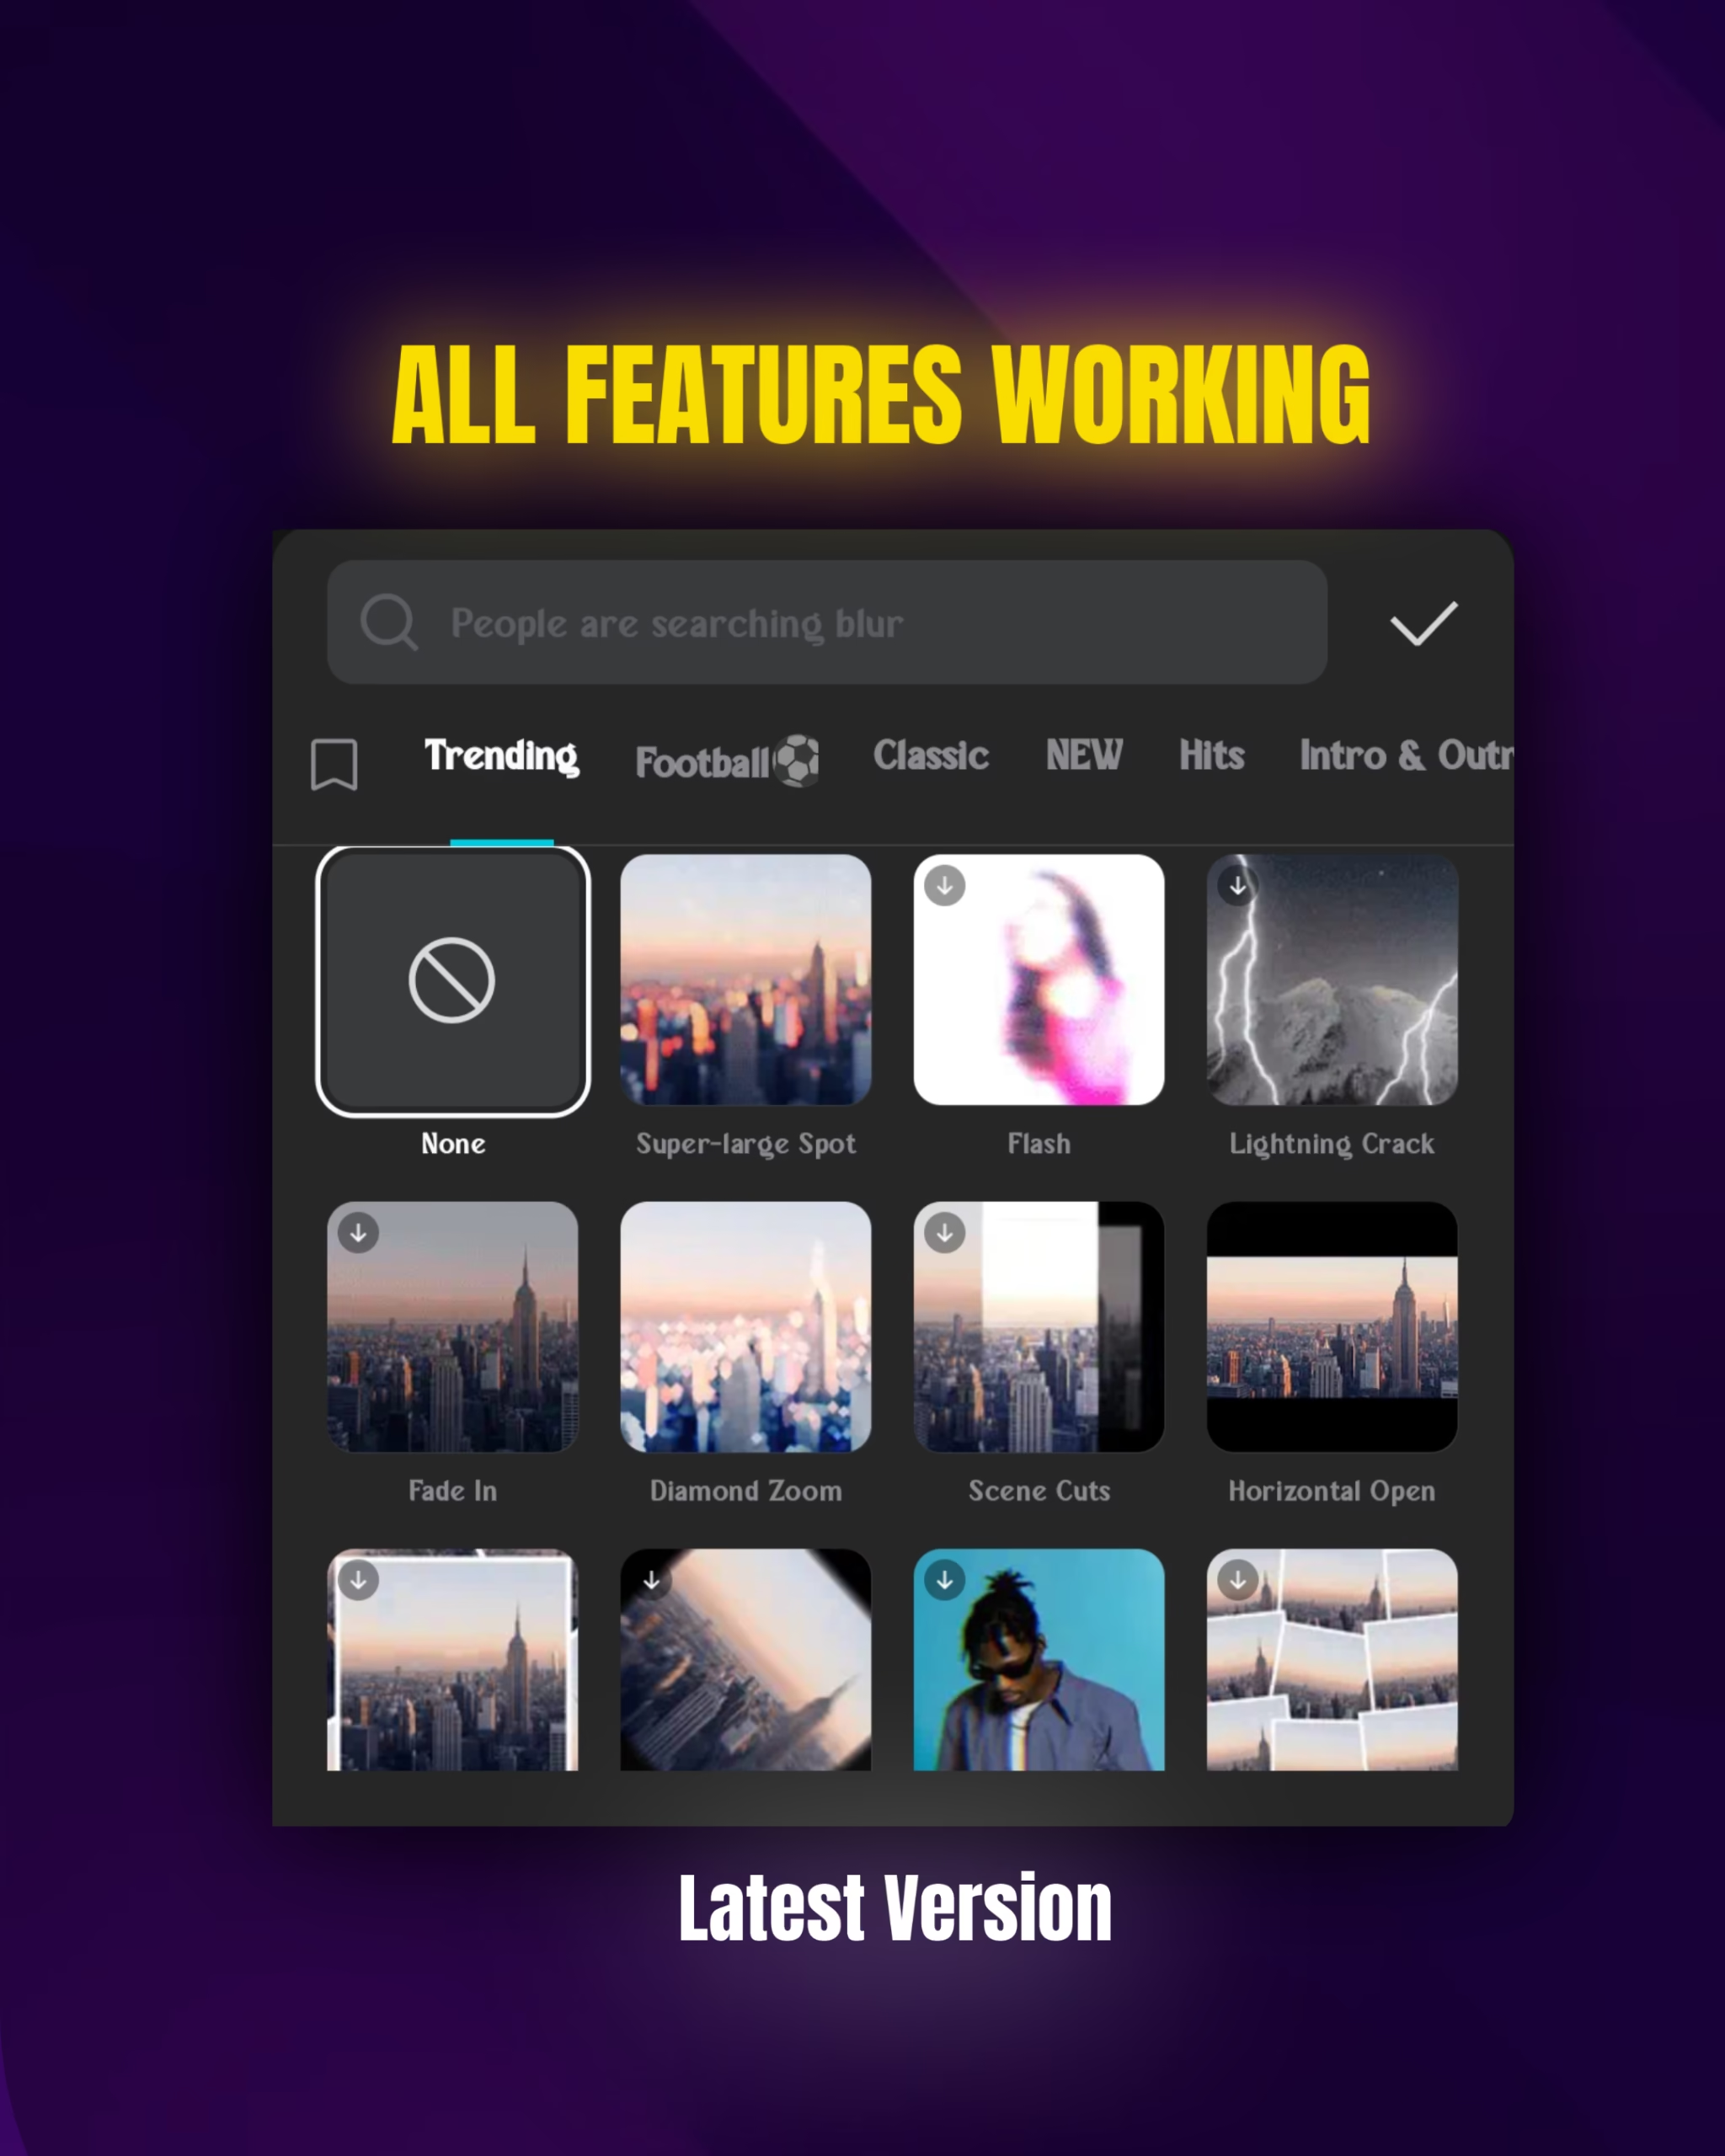
This application also comes with frequent updates which bring in new transition, effect, template, and trending filter features.
Another benefit which makes this application one-of-a-kind is that it is compatible with different formats. From an Instagram Reel to YouTube Shorts and YouTube videos, CapCut provides optimized export settings for each format.
Creators also appreciate the app’s fast rendering speed. Even large video projects can be exported relatively quickly compared to many other mobile editing applications.
Top Features of CapCut Video Editing App
1. AI Video Editing
AI has revolutionized video editing in this modern age, and CapCut has maximized this potential through its AI video editing tools that automatically enhance any video by detecting good moments in the video, changing brightness levels, improving the quality of the image, and minimizing the manual effort involved in editing.
These advanced functionalities have made professional editing possible for everyone, even the beginners.
2. Auto Captions
Caption creation in the traditional way may require lots of time. CapCut’s Auto Captions will help create captions without effort by converting speech to subtitles.
They will make your videos more understandable and engaging. Moreover, captions will also increase accessibility, allowing you to watch videos with your sound turned off.
3. Background Removal
The AI Background Removal tool lets users remove or replace video backgrounds without using a green screen. This feature is especially useful for product videos, professional presentations, and creative social media content.
4. Keyframe Animation
Through keyframe animation, users will have an opportunity to manipulate the motions of images, text, stickers, and videos. Through keyframes, one can achieve a variety of animations like zooms, camera movements, and objects animations.
This ensures that the video looks professional without any technical editing skills.
5. Motion Blur Effects
Motion blur adds realism to moving objects and camera transitions. Many cinematic creators use this feature to produce smoother action sequences and professional-quality edits.
6. Smooth Slow Motion
CapCut includes advanced slow-motion technology that keeps videos looking fluid and natural. Instead of appearing choppy, slow-motion clips maintain excellent quality, making sports, travel, and cinematic videos much more visually appealing.
7. Filters and Color Grading
Color correction is perhaps the simplest way to enhance your video’s visual performance. CapCut offers an extensive range of filters and color adjusting options that make it easy to adjust your footage’s brightness, contrast, saturation, highlights, shadows, and color tone.
No matter whether you want to achieve the cinematic or social media effect, CapCut will help you do it easily.
8. Professional Text Animation
Text is an essential component in contemporary video editing. CapCut provides a large variety of animated fonts, titles, subtitles, and motion effects for users to create more appealing videos.
The user can adjust the size of the font, its color, spacing, shadow, outline, and the speed of the animation.
9. Huge Music and Sound Effects Library
Music can completely transform the mood of a video. CapCut includes an extensive collection of background music, sound effects, and trending audio clips that enhance storytelling and audience engagement.
Users can also import their own music if they prefer.
10. High-Quality HD and 4K Export
Once a project is finished, CapCut enables the user to download it in different resolutions, such as 720p, 1080p, and 4K, maintaining great image quality, as well as offering good compression options for sharing on various social media sites.
This way, one can post high-quality content on social media without compromising its quality.
Pros and Cons of CapCut Video Editing App
Like every editing application, CapCut has both strengths and limitations.
Pros
- Beginner-friendly interface
- Powerful AI editing tools
- Excellent video quality
- Large collection of effects and transitions
- Professional color grading features
- Automatic captions
- Supports HD and 4K export
- Frequent updates with new templates
- Available on Android, iPhone, Windows, and Mac
- Free version includes most essential editing tools
Cons
- Some advanced AI features require a Pro subscription
- Certain templates include watermarks
- Large projects may require significant storage space
- Internet connection is needed for some cloud-based features
Overall, the advantages of CapCut far outweigh its limitations, making it one of the best free video editing apps available today.
How to Download CapCut Video Editing App
Downloading CapCut is simple and only takes a few minutes. To ensure your device remains secure and you receive the latest updates, always download the app from official sources.
For Android Users
Open the Google Play Store.
Search for CapCut Video Editing App.
Tap Install.
Wait for the installation to finish.
Open the app and allow the necessary permissions.
Start creating your first video project.
For iPhone Users
Open the App Store.
Search for CapCut.
Tap Get.
Verify the download if required.
Launch the app and complete the initial setup.
For Windows PC
Visit the official CapCut website.
Download the Windows version.
Install the software.
Sign in if you want to use cloud storage and synchronization.
Begin editing videos on a larger screen with advanced controls.
For Mac Users
Mac users can download CapCut from the official website or the Mac App Store, depending on availability in their region. Installation is straightforward, and your projects can sync across devices if you’re logged into the same account.
How to Edit Videos Using CapCut (Step-by-Step Guide)
Even if you’re a beginner, CapCut makes video editing easy. Follow these steps to create a professional-looking video.
Step 1: Create a New Project
Open CapCut and tap New Project. Select the photos or video clips you want to edit from your gallery.
Step 2: Arrange Your Clips
Drag and rearrange the clips in the timeline to create the perfect sequence. Delete unnecessary footage to keep your video engaging.
Step 3: Trim and Split Videos
Use the Trim and Split tools to remove unwanted parts and improve the pacing of your video.
Step 4: Add Smooth Transitions
Transitions help move naturally from one clip to another. Choose simple transitions for professional-looking videos instead of using too many flashy effects.
Step 5: Apply Filters and Color Grading
Adjust brightness, contrast, saturation, highlights, shadows, and temperature to give your video a polished look. Consistent color grading makes your content appear more professional.
Step 6: Add Music and Sound Effects
Choose background music that matches the mood of your content. Lower the music volume when people are speaking so voices remain clear.
Step 7: Insert Text and Captions
Add titles, subtitles, or animated text to make your videos easier to understand and more engaging. Auto Captions can save time if your video contains dialogue.
Step 8: Use Effects Carefully
Effects can make your videos more attractive, but using too many can distract viewers. Focus on clean editing rather than excessive visual effects.
Step 9: Export Your Video
Once you’re satisfied, tap Export. Choose the resolution and frame rate that best suits your platform. For Instagram Reels and YouTube Shorts, 1080p at 60 FPS is an excellent choice.
Best CapCut Editing Tips for Beginners
Learning a few simple editing techniques can significantly improve your videos.
Keep your videos short and engaging.
Remove unnecessary pauses to maintain viewer interest.
Use consistent color grading throughout the project.
Avoid overusing transitions and visual effects.
Add captions because many viewers watch videos without sound.
Use keyframe animation for smooth zoom and movement.
Keep background music balanced with voice recordings.
Export in Full HD or 4K for better quality.
Organize your clips before editing to save time.
Practice regularly to become familiar with CapCut’s tools.
Small improvements in editing often have a bigger impact than adding dozens of effects.
CapCut AI Features You Should Try
Artificial Intelligence has become one of CapCut’s strongest advantages.
AI Auto Captions
Automatically converts speech into subtitles, making videos more accessible and easier to watch.
AI Background Removal
Removes backgrounds without requiring a green screen.
AI Video Enhancement
Improves brightness, sharpness, and overall video quality with minimal effort.
AI Voice Effects
Transform your voice into different styles for entertainment or storytelling.
AI Cutout
Separates subjects from the background, allowing creative editing possibilities.
AI Image Generation
Some versions of CapCut include AI-powered creative tools that generate images and design elements for videos.
These AI features reduce editing time while producing impressive results.
CapCut Free vs CapCut Pro
Choosing between the free and Pro versions depends on your editing needs.
Feature CapCut Free CapCut Pro
Basic Editing ✅ ✅
Video Trimming ✅ ✅
Filters ✅ ✅
Text Animation ✅ ✅
HD Export ✅ ✅
Premium Effects Limited Unlimited
Premium Templates Limited Full Access
Advanced AI Tools Limited Available
Cloud Storage Basic Expanded
Exclusive Assets ❌ ✅
If you’re just starting your content creation journey, the free version offers more than enough tools. Professional creators who edit frequently may benefit from upgrading to Pro.
Is CapCut Safe to Use?
Yes, CapCut is generally safe when downloaded from official sources.
Like many editing apps, it requests permissions to access your photos, videos, microphone, and storage so it can function properly. Before granting permissions, review them carefully and only allow what is necessary.
For the best experience:
Download only from official app stores or the official website.
Keep the app updated.
Avoid downloading unofficial modified versions.
Use a strong account password if you enable cloud syncing.
Following these practices helps protect your data and ensures access to the latest features.
Best Alternatives to CapCut
Although CapCut is an excellent choice, several other video editing apps are also worth considering.
VN Video Editor
A clean and powerful editor with professional timeline controls and no watermark in many export options.
Alight Motion
Perfect for users who enjoy motion graphics, animation, and advanced visual effects.
KineMaster
Offers multiple editing layers, blending modes, and professional editing tools.
InShot
An excellent option for beginners who want quick edits for social media.
Adobe Premiere Rush
Suitable for creators who work across mobile devices and desktop computers while using Adobe’s creative ecosystem.
Each application has unique strengths, so the best choice depends on your editing style and content goals.
Frequently Asked Questions (FAQs)
Is CapCut free?
Yes. CapCut offers a free version with many professional editing tools. A Pro subscription unlocks additional premium features.
Can I use CapCut on a PC?
Yes. CapCut is available for Windows and Mac, allowing users to edit videos on desktop computers.
Does CapCut support 4K export?
Yes. Supported devices can export videos in 4K resolution.
Is CapCut good for beginners?
Absolutely. Its simple interface makes it one of the easiest video editing apps for new users.
Can I edit YouTube Shorts and Instagram Reels?
Yes. CapCut supports vertical video formats that are ideal for YouTube Shorts, Instagram Reels, Facebook Reels, and similar platforms.
Does CapCut work offline?
Most editing features work offline, but some AI tools, cloud features, and online templates require an internet connection.
Is CapCut better than other free editing apps?
Many creators prefer CapCut because it combines ease of use with powerful editing features and frequent updates. However, the best app depends on your personal editing requirements.
Final Verdict
One of the top video editing apps is the CapCut Video Editing App because it succeeds in blending ease of use with high-quality professional editing capabilities. CapCut app caters for all your needs whether you want to edit videos for social media, travel blogs, product promotions, education or movies.
CapCut’s AI-powered tools, ease of use when editing, library of effects, automatic subtitles, color grading features, and export quality make it ideal for beginners and experienced people. Even its free version is very effective for almost everyone, but if you need to have more creative opportunities, then go for the Pro version.
Thus, if you need an efficient video editor app in 2026, CapCut is still one of the best apps. Regular practicing and experimenting will help you create professional videos that will impress users of any social network.