Create a Stunning Pixel Stretch Photo Edit
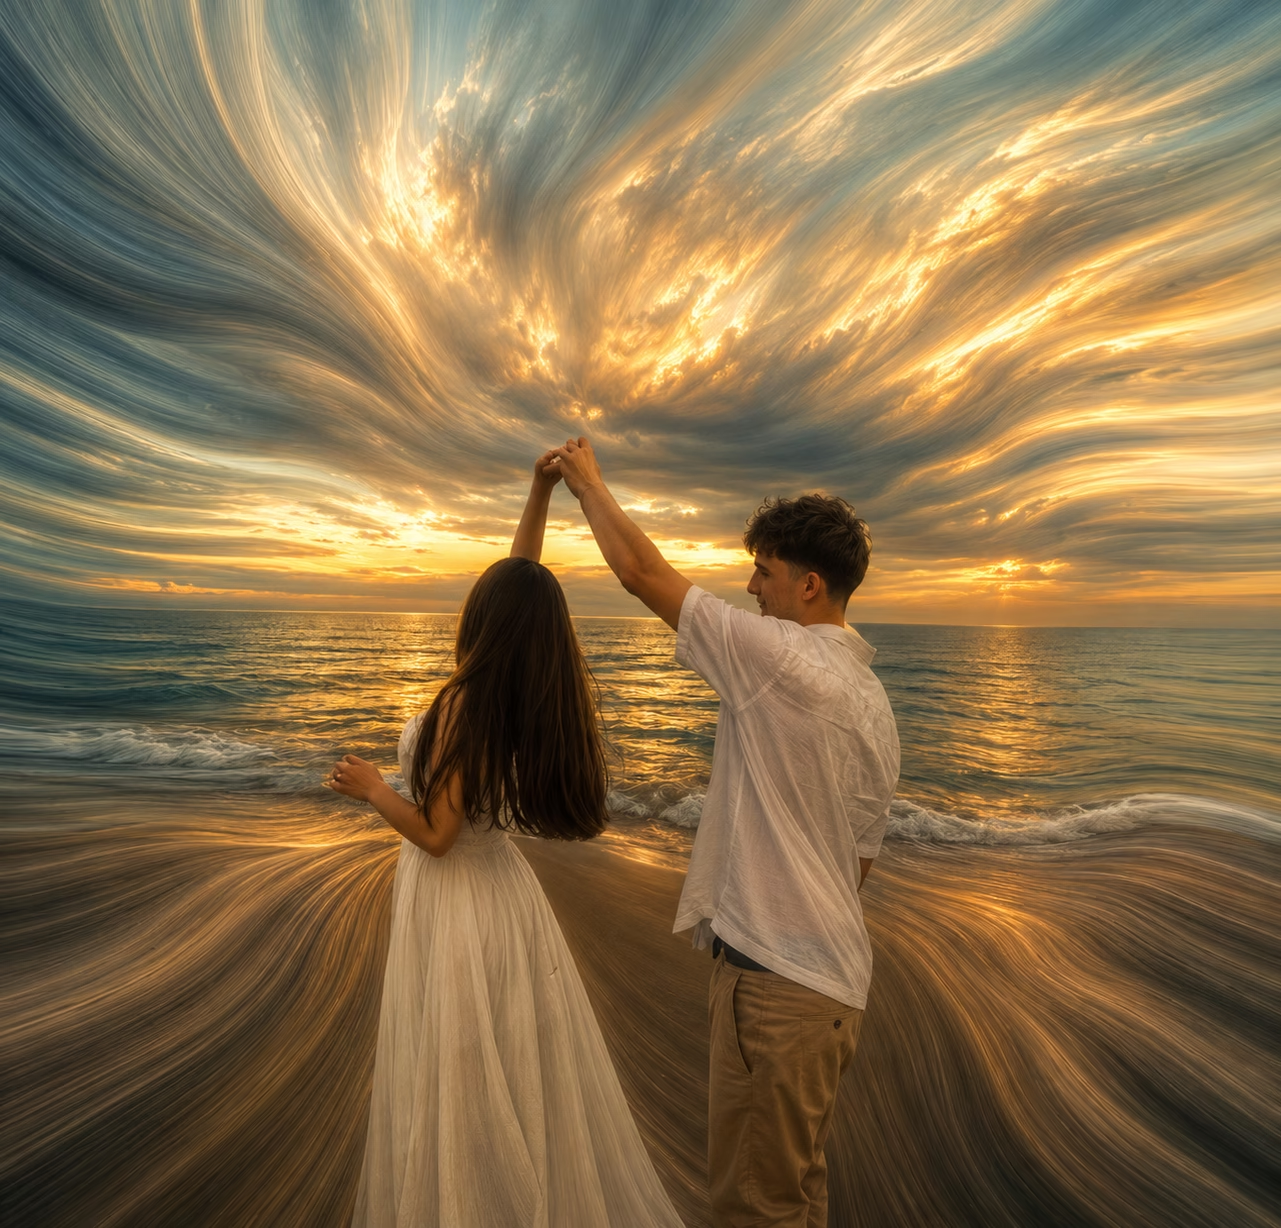
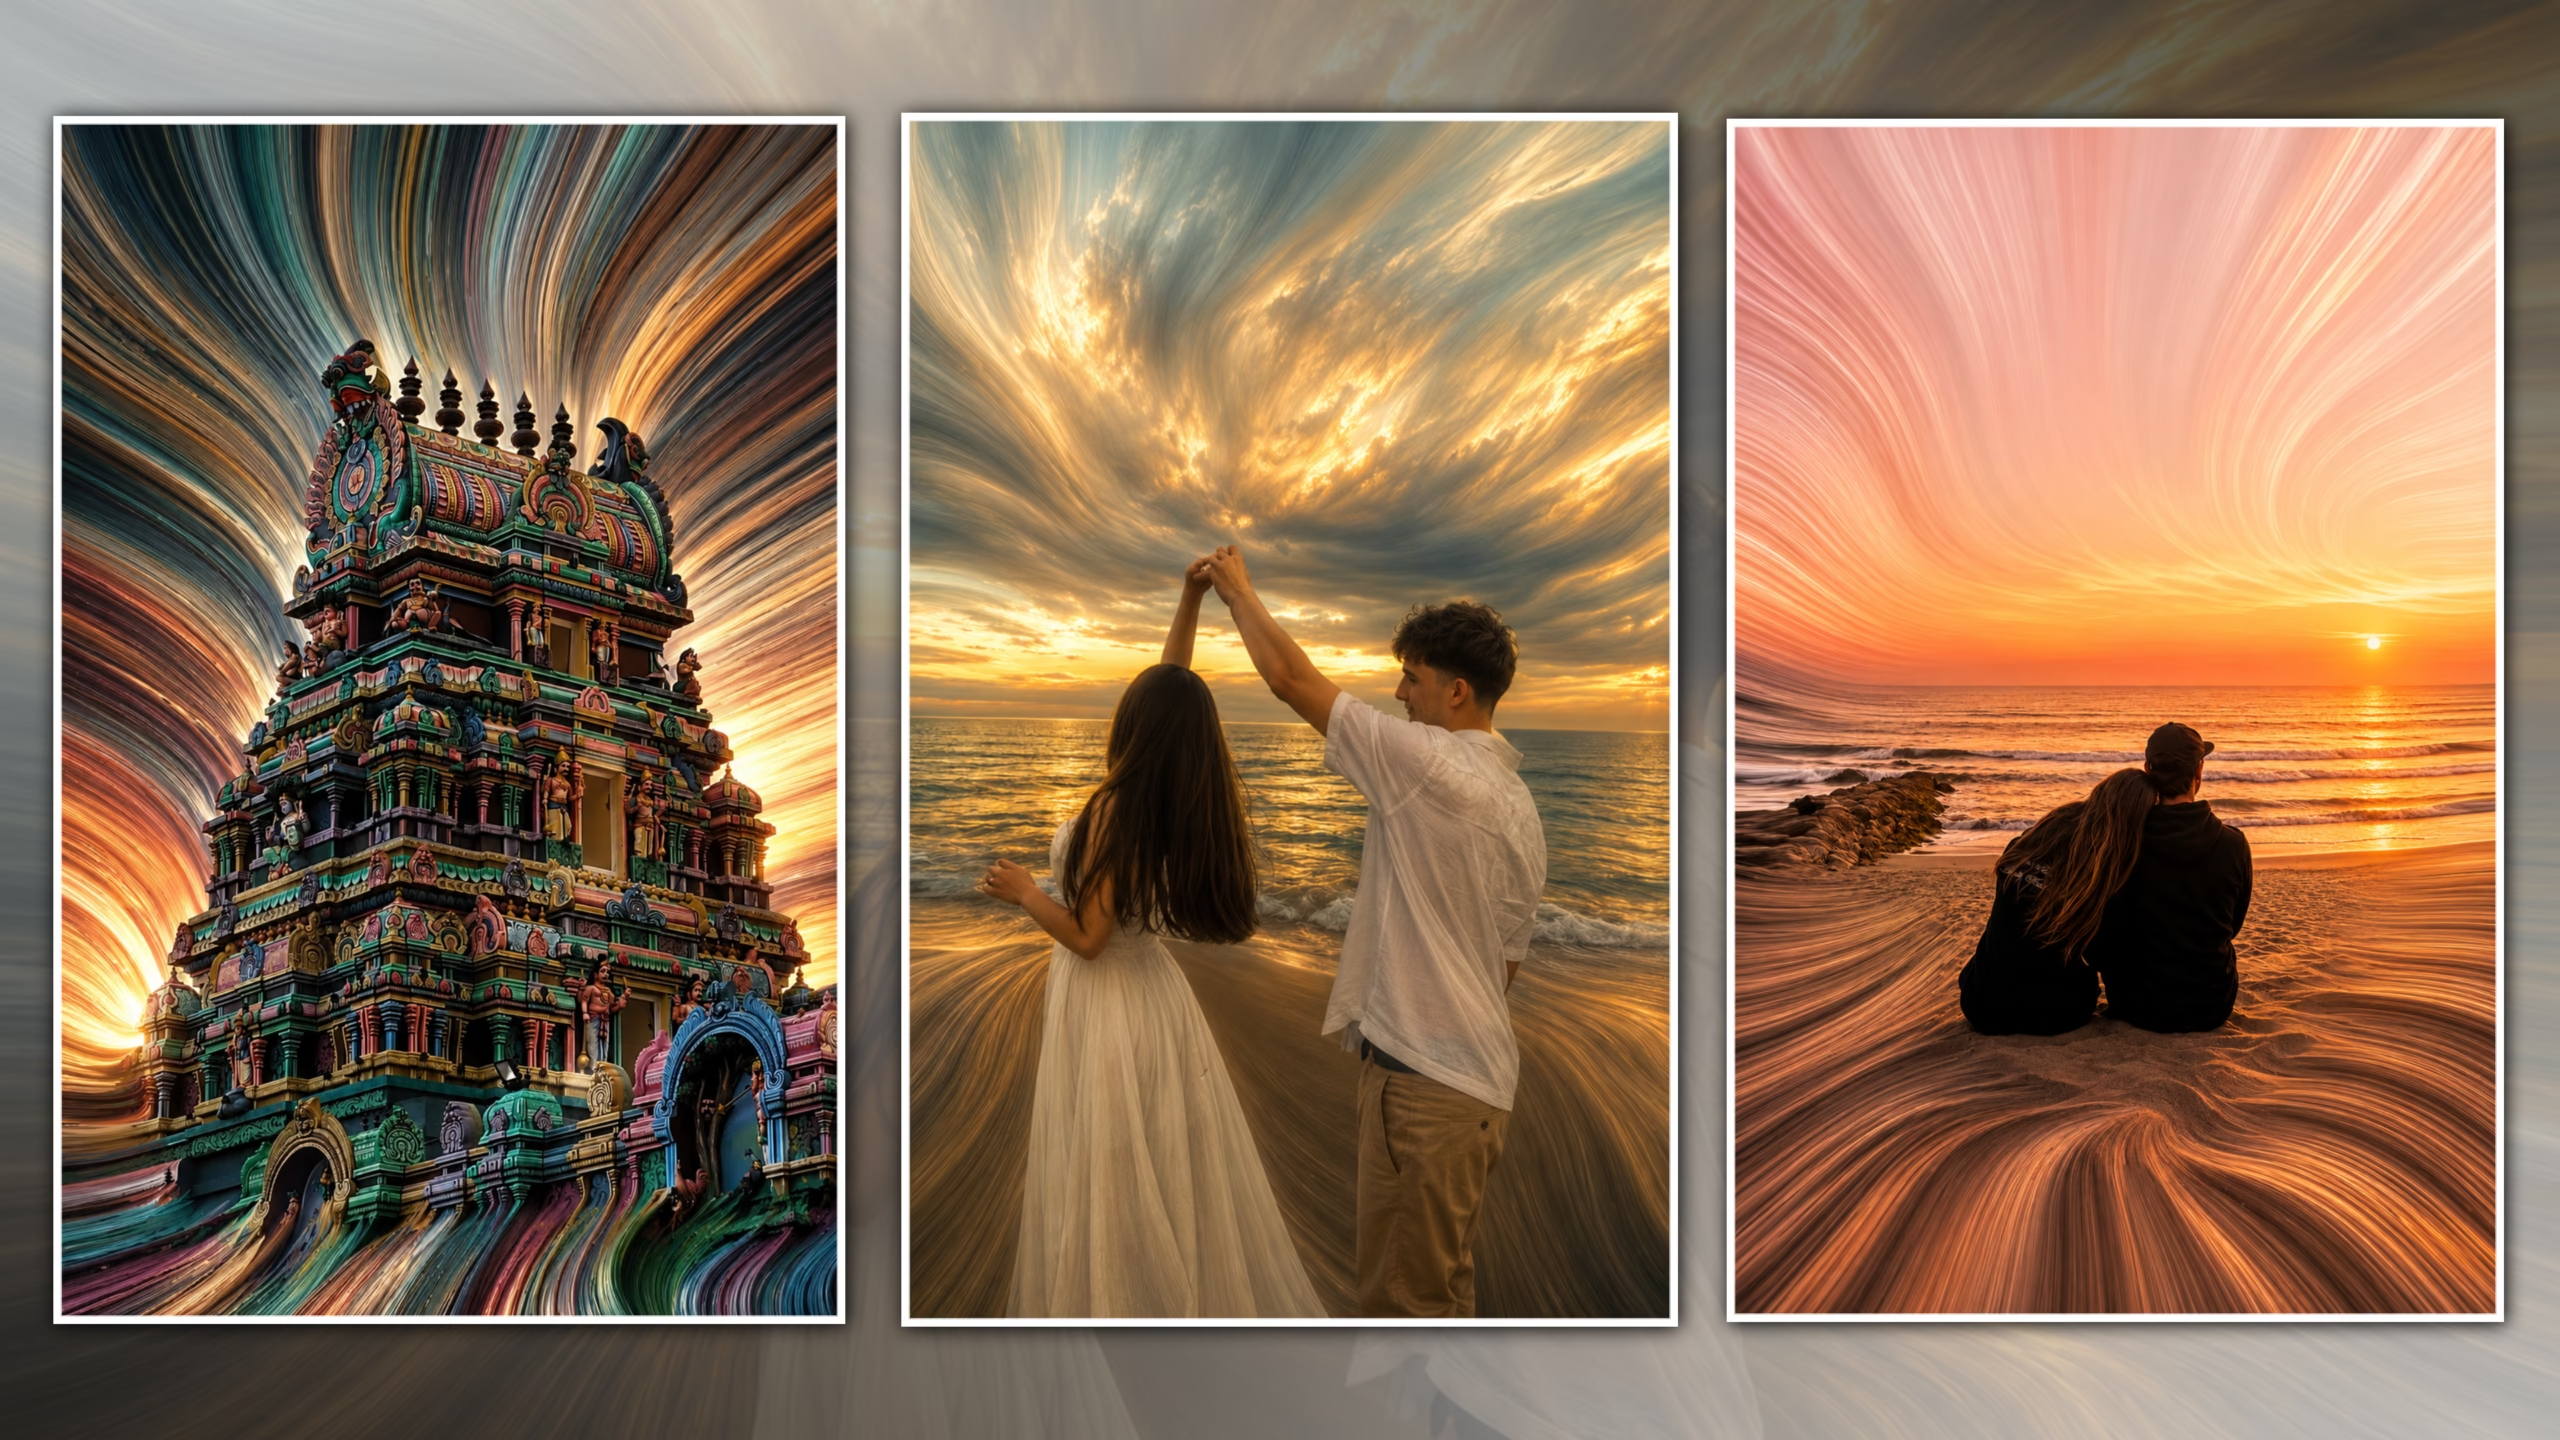
A pixel stretch effect transforms selected colors and textures from a photo into elongated visual trails. The main subject remains sharp while selected parts of the image stretch outward, creating a modern and dynamic composition.
A clean pixel stretch edit depends on four things: choosing the right source area, separating the subject, controlling the stretch direction, and blending the effect naturally with the original image.
1. Choose the Right Photo
Start with a sharp, high-quality photo where the main subject is clearly separated from the background.
Photos with colorful clothing, lights, buildings, landscapes, or textured backgrounds usually work well because they provide interesting colors and patterns to stretch.
Avoid heavily compressed images or photos with extremely complicated backgrounds, as they can produce messy stretching.
Tip: Choose a photo based on its colors, textures, and composition rather than only the subject.
2. Set the Canvas
Choose the final aspect ratio before creating the effect.
For social media portraits, a 1080 × 1350 px (4:5) canvas works well. For full-screen vertical content, use 1080 × 1920 px (9:16).
Working at the final size makes it easier to judge how much space the stretch should occupy.
3. Separate the Main Subject
Create a clean cutout of the main subject using your editing app’s selection or background-removal tools.
Pay close attention to:
- Hair and hairline
- Face and shoulders
- Fingers and hands
- Clothing edges
- Small gaps between objects
Keep the original photo untouched and place the separated subject on its own layer.
A simple layer structure is:
- Original photo
- Pixel stretch layer
- Isolated subject
- Optional final adjustments
This makes it easier to control the effect without damaging the original image.
4. Create the Pixel Stretch Source
Select a small area containing the colors or textures you want to stretch.
Good sources can come from:
- Background colors
- Clothing
- Lights
- Buildings
- Landscapes
- Textured surfaces
For a horizontal stretch, use a narrow vertical section of the image.
For a vertical stretch, use a narrow horizontal section.
Create the stretch on a separate layer instead of stretching the entire photo.
5. Stretch the Pixels
Stretch the selected area in one direction while keeping the opposite dimension relatively controlled.
For a horizontal effect, increase the width of the selected texture.

For a vertical effect, increase its height.
Use these as starting points:
| Effect Strength | Approximate Stretch |
|---|---|
| Subtle | 150–250% |
| Medium | 250–500% |
| Strong | 500–1000%+ |
The exact amount depends on the editing application and the size of your source area.
Tip: A narrow, carefully selected source usually produces a cleaner result than stretching a large random section.
6. Position the Stretch Behind the Subject
The subject should remain the sharpest element of the composition.
A useful layer arrangement is:
Sharp subject → stretched texture → original environment
You can extend the effect toward one side or both sides of the subject.
Make sure the stretch does not cover important facial or clothing details. If it overlaps the subject, use a mask to keep those areas clean.
The direction should also support the composition rather than simply filling empty space.
7. Blend the Stretch With the Background
The stretched area should look connected to the original photo rather than appearing as a separate object.
Check the stretch for differences in:
- Brightness
- Color
- Saturation
- Hard edges
- Visible seams
- Sudden texture changes
Use a layer mask or subtle gradient to create a smoother transition where necessary.
Start with the stretch layer at 100% opacity, then reduce it toward 80–90% if the effect becomes too dominant.
Avoid excessive blur because it can remove the texture that makes the pixel stretch look convincing.
8. Control the Stretch Direction
Choose the direction based on the composition.
A horizontal stretch works well when you want to create width, movement, or a dynamic side-to-side appearance.
A vertical stretch can work better with full-body portraits, architecture, or compositions containing strong vertical lines.
The important point is to make the direction support the subject and available negative space.
For example, extending the effect toward the direction the subject is looking can create a stronger sense of movement.
9. Protect Important Details With Masking
Masking is one of the most important parts of a clean pixel stretch edit.

Keep these areas sharp:
- Eyes
- Face
- Hairline
- Hands
- Clothing details
- Important objects
Zoom in while refining the mask, then zoom out regularly to check the overall composition.
Avoid creating bright or dark halos around the subject. The subject edge should remain clean while the stretch transitions naturally into the background.
10. Match the Colors
The stretched texture should visually belong to the original photo.
Use exposure, contrast, highlights, shadows, temperature, and saturation to match the stretch with the surrounding image.
Useful starting values:
| Adjustment | Starting Range |
|---|---|
| Exposure | ±0.2 |
| Contrast | +5 to +15 |
| Highlights | −10 to −25 |
| Shadows | +5 to +15 |
| Saturation | −5 to +10 |
These are starting points, not fixed settings. Adjust them according to the original image.
If the stretch looks too colorful, reduce saturation. If it appears darker or brighter than the background, correct the exposure first.
11. Apply a Consistent Final Grade
Once the stretch is blended, apply a subtle final color grade to the entire composition.
Aim for:
- Controlled highlights
- Moderate contrast
- Slightly deeper shadows
- Natural skin tones
- Consistent color temperature
- Moderate saturation
Avoid applying a heavy filter simply to make the edit look more dramatic.
Tip: Temporarily disable the final grade and compare the image. If skin tones or important colors look unnatural, reduce the strength of the grade.
12. Export the Final Image
For a standard social media portrait, export at 1080 × 1350 px.
Use:
- JPEG for most finished images
- PNG when maximum detail or transparency is required
- JPEG quality: approximately 85–95%
Keep the original layered project file if your editing application supports it. This allows you to change the stretch, mask, or color grading later without rebuilding the edit.
Final Quality Checklist
Before publishing, check the following:
- The main subject remains sharp.
- The face and important details are not distorted.
- The stretch comes from a suitable color or texture.
- The stretch direction supports the composition.
- There are no obvious seams or halos.
- The stretched area blends with the background.
- The effect is noticeable without overpowering the subject.
- Masking around the subject is clean.
- Skin tones remain natural.
- The final crop and resolution are suitable for the platform.
Final Takeaway
A professional pixel stretch photo edit is not about adding as much distortion as possible. The strongest results come from careful source selection, clean subject masking, controlled stretching, and consistent color matching.
Instead of stretching the entire image, use a dedicated texture layer and build the effect around the subject. This keeps the main subject sharp while giving the background a creative, dynamic appearance.