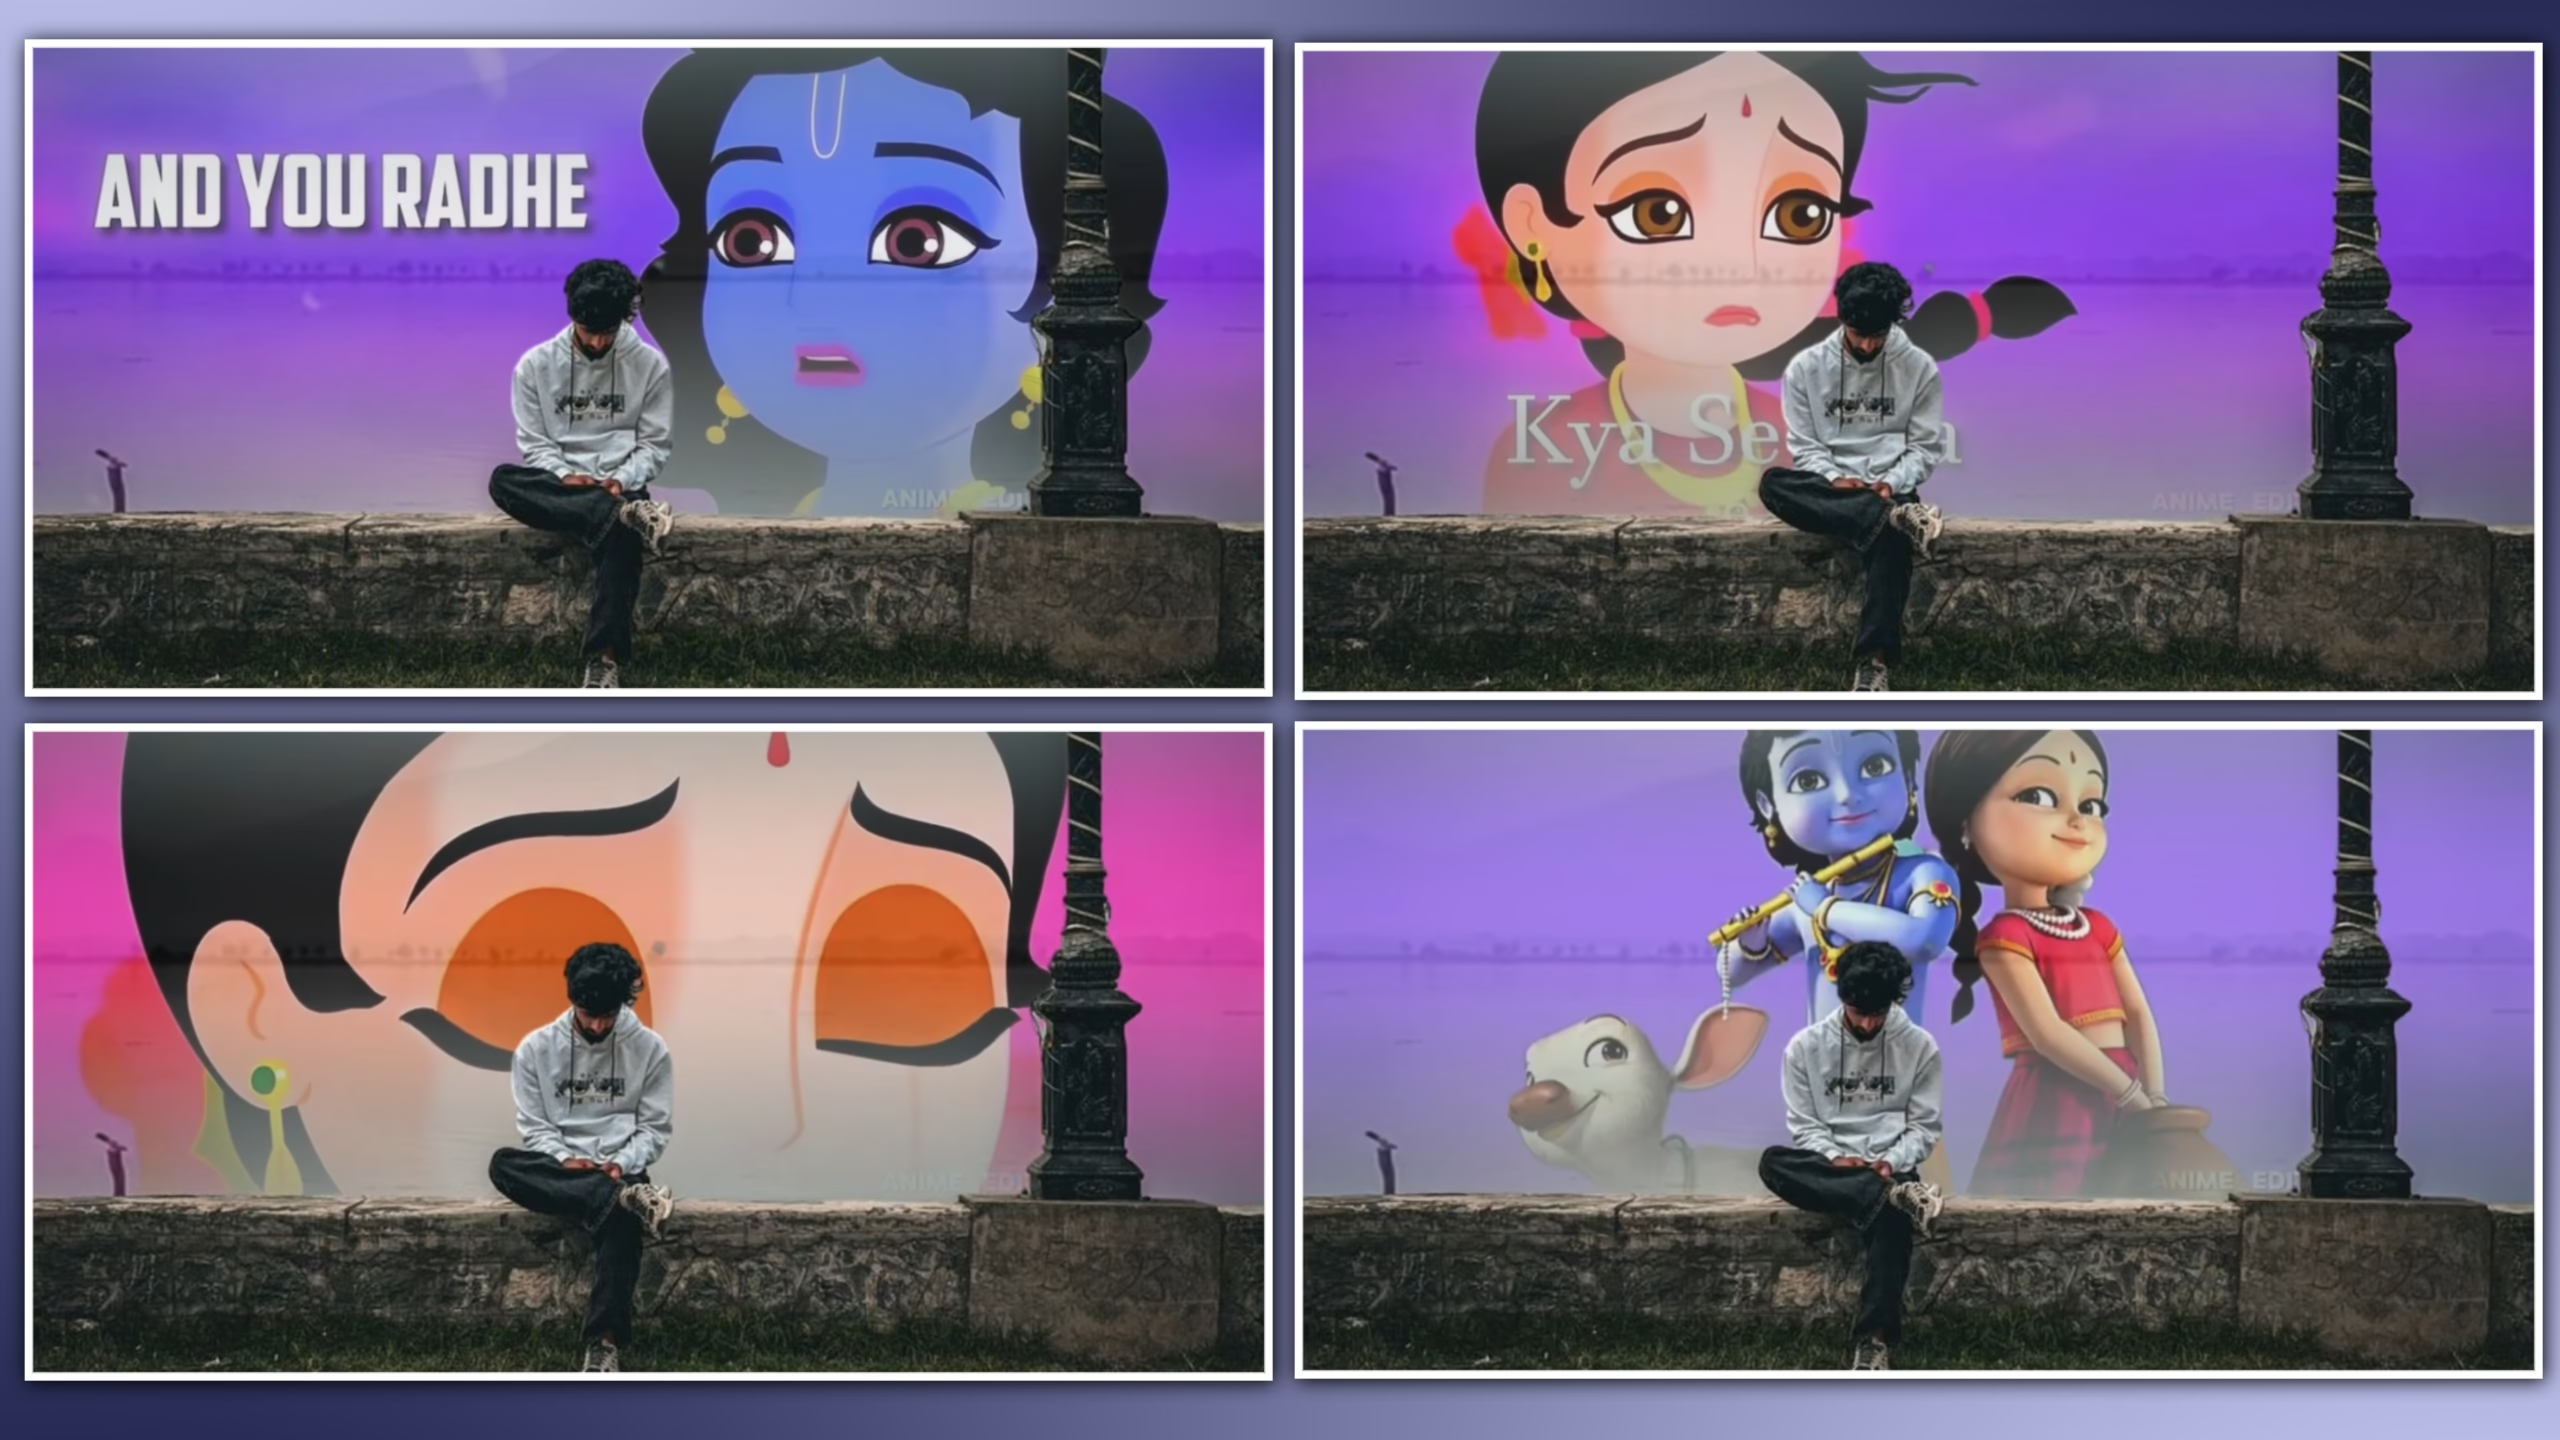
How to Create a Trending Krishna Video Edit on Your Phone
A trending Krishna video edit is not created simply by adding devotional music, glowing effects, and multiple transitions. A professional result depends on visual selection, music timing, motion, color, typography, and controlled effects.
You can create a polished Krishna video entirely on your phone using apps such as CapCut, VN, Alight Motion, InShot, or similar mobile editors. The important part is using each editing element with a clear purpose.
This guide explains a practical workflow for creating a cinematic Krishna video for Reels, Shorts, and other vertical platforms.
1. Select High-Quality Krishna Visuals
The quality of your source images or clips directly affects the final result.
Choose visuals with:
- Clear details
- Good resolution
- Strong lighting
- Clean composition
- Different angles or compositions
- Enough space for vertical cropping
Avoid using several nearly identical images.
For a 20-second photo-based reel, a useful starting point is:
8–12 strong images
A good sequence could be:
Close-up → Full statue → Flute detail → Temple scene → Portrait → Celebration scene → Strong final image
This creates visual variety without requiring excessive effects.
2. Set the Project Correctly
For Instagram Reels and YouTube Shorts, use a vertical project.
| Setting | Recommended |
|---|---|
| Resolution | 1080 × 1920 px |
| Aspect ratio | 9:16 |
| Frame rate | 30 FPS |
| Format | MP4 |
| Quality | High |
If your original footage is 60 FPS and you plan to use slow motion, a 60 FPS project can preserve smoother movement when supported by your editing app and platform.
Do not stretch horizontal images to fill the vertical screen. Crop them carefully or use a suitable background.
3. Choose Music Before Finalizing the Timeline
Music controls the rhythm of the edit.
Look for a track with identifiable sections:
Intro → Build-up → Main section → Peak → Ending
For cinematic Krishna edits, devotional, flute-based, instrumental, or suitable trending audio can work depending on the visual mood.
For energetic reels, choose music with noticeable beats. For emotional edits, slower music with longer musical phrases usually works better.
Important: A trending song does not automatically make a video engaging. The music should match the visuals.
4. Mark Important Beats
After importing the music, identify the strongest beats and musical changes.
You do not need to change the visual on every beat.
Use different beats for different purposes:
Strong beat → Main visual change
Medium beat → Motion or transition
Small beat → Continue the current visual
This keeps the edit rhythmic without making it feel rushed.
Beat Timing Formula
You can estimate the distance between beats using:
Beat interval = 60 ÷ BPM
| BPM | Approx. interval |
|---|---|
| 90 | 0.67 sec |
| 100 | 0.60 sec |
| 120 | 0.50 sec |
| 140 | 0.43 sec |
These are starting values. Actual music can contain pauses, drops, and variations.
5. Create a Strong Opening
The first visual should immediately establish Krishna as the main subject.
Good opening choices include:
- Powerful Krishna portrait
- Close-up of the eyes
- Flute detail
- Dramatic statue shot
- Temple visual
- Reveal synchronized with the music
A simple structure is:
0–1 sec: Strong visual
1–2 sec: Controlled movement
2–3 sec: First important musical change
Avoid starting with a long title screen. Let the visual introduce the subject first.
6. Animate Photos With Keyframes
Still images can become dynamic through controlled keyframe movement.
Useful movements include:
- Slow zoom in
- Slow zoom out
- Horizontal pan
- Vertical movement
- Camera-style push
A good starting zoom is:
100% → 106–112%
For stronger movement:
100% → 115%
Avoid excessive zoom because it can reduce image quality and make the animation look artificial.
Match the movement to the composition:
Portrait: Push toward the face
Full statue: Gentle vertical movement
Wide temple: Horizontal pan
Flute/detail: Small push-in
The purpose of movement is to guide attention, not simply make an image move.
7. Synchronize Movement With Music
Combine keyframe movement with important beats to make the edit feel more connected to the music.
Example:
Image A: Slow zoom in
Beat: Cut
Image B: Slight zoom out
Next beat: Cut
Image C: Horizontal movement
For a strong beat, you can briefly increase scale:
100% → 104% → 100%
Keep the movement subtle. Large scale changes on every beat can make the video look aggressive rather than cinematic.
8. Create a Consistent Cinematic Color Look
Different images may have different lighting and colors. Basic correction helps make them feel like part of the same video.
Adjust:
- Exposure
- Contrast
- Highlights
- Shadows
- Saturation
- Temperature
Starting Adjustment Range
| Adjustment | Starting range |
|---|---|
| Contrast | +5 to +12 |
| Highlights | −10 to −25 |
| Shadows | +5 to +15 |
| Saturation | −5 to +5 |
| Sharpening | +3 to +8 |
| Temperature | ±3 to ±8 |
These are starting values rather than fixed settings.
Correct exposure first, then create the creative look.
A slightly warm atmosphere can work well for devotional visuals, but avoid excessive orange or yellow tones.
Main goal: Preserve detail, natural-looking colors, and consistency between shots.
9. Use Glow and Particles Carefully
Glow can enhance devotional visuals when used selectively.
It can work for:
- Divine light
- Diyas or lamps
- Background atmosphere
- Musical peaks
- Light-based transitions
A useful starting point is:
Glow/effect opacity: 10–30%
Light particles, dust, bokeh, and soft rays can also add atmosphere, but they should remain secondary to the subject.
If the effect becomes more noticeable than Krishna, reduce it.
10. Choose Transitions Based on the Shot
Professional editing does not require a different transition between every clip.
Use:
Straight cut: Strong beat or major visual change
Dissolve/fade: Emotional or softer transition
Motion transition: When movement connects two shots
Flash/light transition: Only at important musical peaks
Avoid repeatedly combining zoom, shake, flash, blur, spin, and glitch effects.
A transition should connect two visuals, not become the main attraction.
11. Add Clean Devotional Typography
Text should strengthen the message without covering the main visual.
Possible text includes:
“Hare Krishna”
“Radhe Radhe”
“Krishna”
“The Divine Flute”
You can also use a short original devotional message relevant to the video.
Typography Guidelines
- Use one primary font
- Keep the text short
- Maintain consistent placement
- Avoid covering faces
- Use strong contrast
- Keep animations simple
For short reels, one or two text moments are usually enough.

12. Build Toward a Visual Peak
Do not use your strongest visual randomly. Create progression:
Opening → Build-up → Faster sequence → Musical peak → Best Krishna visual → Message → Ending
At the peak, combine only a few strong elements:
- Best image or clip
- Important beat
- Subtle scale movement
- Controlled light effect
- Short text
This gives the reel a clear climax without overloading the scene.
13. Use Speed Ramping for Video Clips
If you are using actual video footage, speed changes can emphasize meaningful movement.
A simple starting example is:
100% → 60% → 100%
This can work for:
- Camera movement
- Flute movement
- Temple details
- Flowers
- Celebration scenes
Do not slow down every clip. Use speed changes only where they improve the moment.
14. Balance Music and Sound Effects
Music should remain the primary audio layer.
Optional sound effects include:
- Temple bells
- Soft whooshes
- Flute accents
- Temple ambience
- Subtle impacts at major transitions
A useful starting point is:
Music: main level
Sound effects: approximately −18 to −10 dB
Adjust by ear because different recordings have different loudness levels.
Avoid adding a sound effect to every cut.
15. Create a Strong Ending
The ending should feel intentional rather than simply stopping after the final image.
A clean structure is:
Best visual → Short message → Music ending
For example:
“Radhe Radhe ❤️”
or
“Hare Krishna”
Keep the final message visible for approximately:
1.5–3 seconds
If possible, let the visual ending match the natural ending of the music.
16. Final Quality Check
Before exporting, watch the complete reel from beginning to end.
Visual
- Krishna remains the main focus
- Images are sharp
- Cropping is clean
- Important details are visible
Timing
- Major cuts match important musical moments
- No image remains unnecessarily long
- The visual peak happens at the right time
Effects
- Glow is controlled
- Particles are subtle
- Transitions are not distracting
Text
- Every word is readable
- Text does not cover important details
- Font and placement remain consistent
Audio
- Music is clear
- Sound effects are not overpowering
- The ending feels complete
17. Export Settings
For most vertical social-media platforms:
| Setting | Recommended |
|---|---|
| Resolution | 1080 × 1920 |
| Aspect ratio | 9:16 |
| Frame rate | 30 FPS |
| Format | MP4 |
| Codec | H.264, if available |
| Quality | High |
After exporting, watch the actual file once. Check for blurry text, compression problems, audio-sync issues, and incorrect cropping.
Common Mistakes to Avoid
- Using low-resolution Krishna images
- Adding too many effects
- Cutting on every beat
- Excessive zooming
- Using unrelated transitions
- Over-saturating colors
- Making glow too strong
- Covering the subject with text
- Making sound effects louder than the music
- Mixing unrelated visual styles
- Exporting with incorrect framing
- Using music without the appropriate rights
Quick Krishna Video Editing Workflow
Choose music → Select visuals → Set 9:16 canvas → Mark beats → Create opening → Arrange visuals → Add keyframes → Synchronize major cuts → Correct color → Add subtle effects → Add text → Build visual peak → Balance audio → Create ending → Quality check → Export
Final Takeaway
A strong Krishna video edit does not require dozens of effects. The professional look comes from better visual selection, accurate timing, controlled motion, consistent color, readable typography, balanced audio, and purposeful effects.
Use the strongest visual at the right moment, synchronize important cuts with the music, keep movement subtle, and let Krishna remain the main focus.
The goal is not to make the timeline complicated. The goal is to make the final video feel polished, emotional, and visually connected from beginning to end.
FULL PROJECT
XML PROJECT
VIDEO LINK



Keshav